You’ll start by unplugging your grill and letting it cool completely, then gather your tools: scraper, vacuum, degreaser, and wire brush. Remove and soak your grates overnight in soapy water or PBW solution. Next, you’ll inspect the firepot for rust, wire brush interior surfaces, and apply food-safe oil for protection. Spray degreaser inside the chamber, scrub with a wire brush, then vacuum ash thoroughly. Empty your hopper, clean the chimney cap with all-natural degreaser, and scrape grease buildup from attachment points. Finally, apply biodegradable degreaser to exterior surfaces and address any rust with appropriate treatments. This exhaustive approach covers everything you need to know.
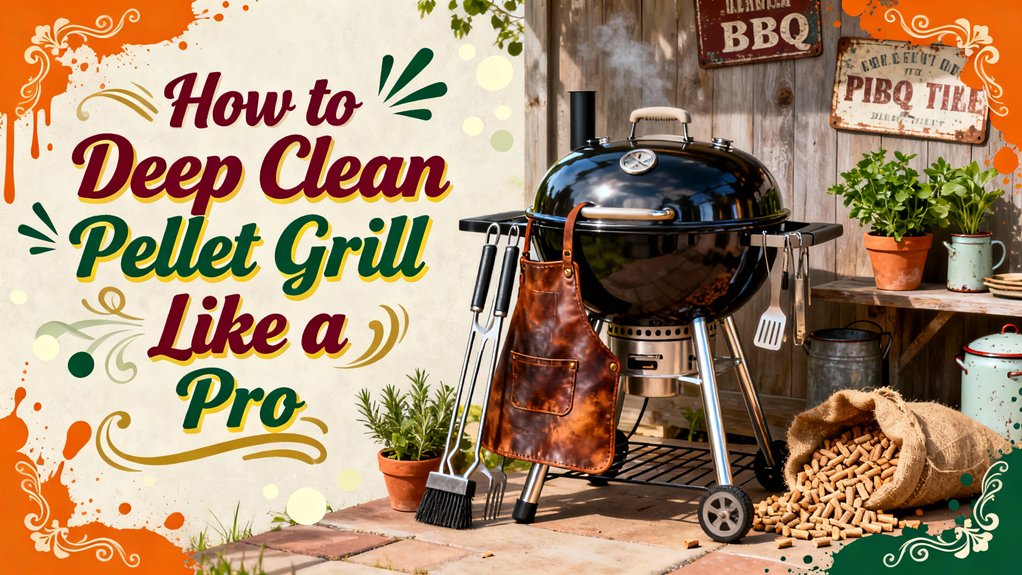
Preparation Steps
Before you’ll need to prioritize safety and gather the right tools. Start by ensuring your grill cools completely and unplugging it from the power source. Establish an efficient workspace layout near your grill to streamline the cleaning process.
Gather essential materials: a scraper tool for drippings, shop vacuum for dust and ash, soft cloths, degreaser, and a vinegar-water solution. Include steel wool, compressed air, and a wire brush in your proper tool storage area for easy access. For interior cleaning, you’ll also want to have access to a soft steel wool to gently clean the internal temperature probe without causing damage. Always consult your manufacturer’s manual for specific maintenance procedures to ensure you’re following the correct guidelines for your particular model.
Wear gloves to protect your hands from residue. Prepare a bag for the hopper chute and arrange your workspace from top to bottom, ensuring you’ve got everything within arm’s reach before you start disassembly. Regular cleaning of your grill’s drip pan and interior will prevent pest attraction and grease buildup that can compromise performance. Consider using natural degreasers like vinegar and baking soda alongside commercial products for a safer cleaning alternative. Understanding how hardwood pellets break down during combustion will help you recognize the ash patterns you’ll encounter during deep cleaning. Different flavor profiles of pellets may produce varying ash characteristics that affect your cleaning routine. Regular ash cleaning will extend your grill’s lifespan and maintain optimal performance during future cooking sessions.

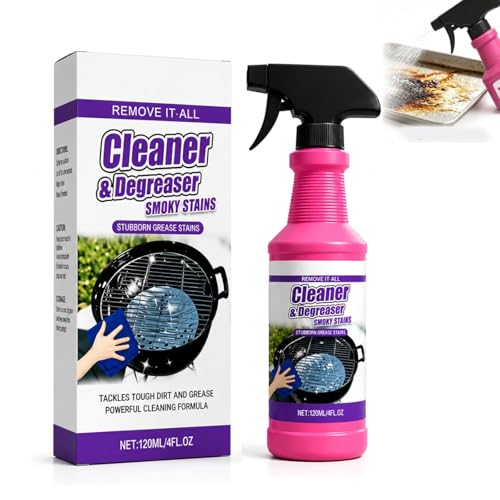
Powerful, fast-acting formula

Complete cleaning kit to give your Traeger a deep clean
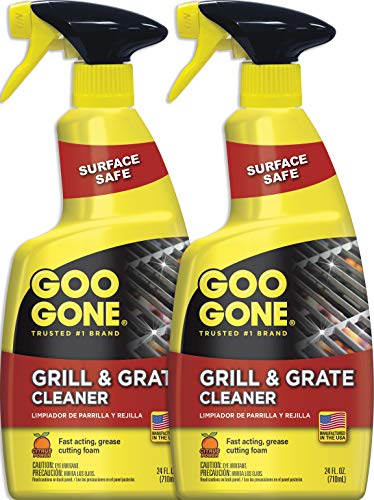
GRILL & SMOKER CLEANER : Super-strength gel cleans your grill and is safe on food-prep surfaces. Works great for cleaning pellet smokers and electric smokers
Cleaning Grates and Racks
Once your grill’s cooled completely, you’ll lift out the removable grates for separate cleaning. Handle porcelain-coated grates carefully to avoid damage, and extract heavy one-piece models like Pit Boss units intact. For stuck-on food, soak grates in soapy water or PBW overnight in a plastic bin or bathtub.
When scrubbing, employ a nylon brush on cold grates or use balled-up tin foil with tongs on hot surfaces—avoid wire bristles that damage coatings. For stainless steel, apply Bar Keeper’s Friend and scrub thoroughly. Steam cleaning works effectively: apply ice water on grates at 325°F to lift gunk from porcelain cross-hatch patterns. Consider using vinegar and baking soda as an alternative soaking solution to break down stubborn buildup on your grates. If your grates are dishwasher-safe, you can wash them in the dishwasher for a thorough and convenient cleaning option. For particularly stubborn residue, pumice-based grill cleaning bricks can effortlessly remove caked-on food without scratching your grates. Traditional stainless-steel wire-bristle brushes can leave behind stray bristles that end up on your food, so opt for bristle-free grill brushes instead.
After scrubbing, finish with a stainless steel polish for shine. Skip high heat burn-off methods on coated surfaces to preserve their integrity. Placing your grill on a grill pad can help protect your deck or patio from heat damage and grease drips during the cleaning process. Replace grill brushes seasonally to maintain optimal cleaning performance and prevent bristle shedding onto your food.

【The Safest Bristle Free Grill Cleaner】:No wire bristles at all, no melting like nylon grill brushes; With this safe grill brush and scraper, your food will stay 100% Bristle Free. No more worry about swallowing some metal pieces, Let's free to gobble up some favorite barbecue! Save your effort and time, let’s just have fun! (PATENTED design)

【Safest Steam Brush 】With a bristle-free grill brush. you don’t have to worry about dangerous wire bristles found on most common barbeque brush products. Water activated design cleans with the power of steam thanks to a core made of XUDAKAIXIN exclusive foam.(𝐏𝐚𝐭𝐞𝐧𝐭𝐞𝐝 𝐃𝐞𝐬𝐢𝐠𝐧)Cleaning your grill only takes about five seconds

[Safe & High-quality BBQ Accessories] Our grill brush bristle free with scraper is made of upgraded materials and uses steam power to quickly dissolve stubborn grease,no need to worry about shedding wires or burrs.Safe and efficient, it has six secure screws to keep the brush head in place and a detachable design for easy storage,making outdoor BBQ more enjoyable.
Firebox and Firepot Maintenance
With your grates and racks restored to like-new condition, you’ll now focus on the heart of your pellet grill—the firebox and firepot where combustion occurs.
Start by removing the firepot using minimal tools—typically four screws and a lift motion. If your model has a hot rod igniter, unscrew the set screw first. Inspect the firepot for rust buildup, ash accumulation, and debris blockages.
Wire brush interior and exterior surfaces to remove rust flakes. Apply a light coating of food-safe oil like grapeseed or canola oil for firepot rust prevention. This protects against oxidation and directly impacts firepot longevity considerations. To maintain a polished appearance and prevent corrosion on any exposed stainless steel components, consider using protective films or polishes designed for metal surfaces. For best results, use a drill attachment cleaning kit to efficiently remove stubborn buildup and restore the firepot to optimal condition. Some models offer a removable burn pot for straightforward ash clean-out without requiring disassembly. Natural cleaning agents like baking soda and white vinegar can also help dissolve stubborn carbon deposits while remaining food-safe and environmentally friendly. For severe rust cases that resist standard cleaning methods, consider exploring professional rust removal methods to restore your firepot completely. Building a protective coating through regular oiling helps prevent future rust formation and extends the life of your firepot components.
Use a shop vacuum to extract residual sawdust and ash. Debris accumulation reduces air circulation efficiency and clogs the auger system. Proper removal maintains ideal airflow and heat for consistent temperature control and peak performance.

Pellet Grill Ash Cleaning Kit: This 3 piece set includes a large dust pan, soft bristle brush, and metal scraper. Designed to remove ash, debris, and stubborn buildup from corners and tight spaces with ease

BBQ Grill Cleaner: CitruSafe is a pioneer in the grilling industry by manufacturing the first spray specifically formulated to provide a simple, safe, yet powerful alternative to cleaning a barbecue grill’s cooking surfaces (grates). CitruSafe BBQ Grill Cleaner utilizes the cleaning power of citrus peels to provide a natural degreaser. CitruSafe not only saves fuel, but also avoids the unnecessary risks associated with ingesting bristles from wire grill brushes.

Power-Free & Flexible Cleaning: Ash vacuums rely on power outlets or batteries, which limits where you can clean (e.g., outdoor patios with no nearby plugs). This kit needs no power at all—use the metal scoop to collect ash and the wire brush to scrub grime anytime, anywhere, without being tied to a power source.
Interior Chamber Cleaning
After you’ve restored the firebox and firepot, you’ll tackle the interior chamber where grease, ash, and smoke residue accumulate and compromise your grill’s performance. Work top-to-bottom, spraying degreaser on surfaces and letting it sit one minute before wiping. Use a wire brush to scrub bars and walls, then vacuum the ash-food mixture from the chamber bottom. Don’t forget to inspect burnpot condition and lubricate moving parts as needed. Use compressed air in tight nooks for thorough debris removal. After vacuuming, wipe the chamber with a rag to remove residual degreaser. For optimal results, use a Shop-Vac to vacuum out the ash that settles at the bottom of the grill chamber to ensure complete debris removal. For stubborn buildup, consider using a degreaser product specifically formulated to cut through baked-on grease and grime. To prevent grease fires, empty the pellet hopper and thoroughly clean the firepot of all debris before reassembling. Regular maintenance with mild detergents will help prevent the buildup of tough grime and keep your grill functioning properly. Rinse and air-dry all parts thoroughly to prevent rust and ensure longevity. Line the interior with aluminum foil to catch drippings and minimize future buildup during cooking. Consider installing a grill mat to further protect your grill’s interior surfaces and make cleanup easier. Finally, run your grill at high heat for 30-60 minutes to burn off remaining chemicals and restore ideal performance.
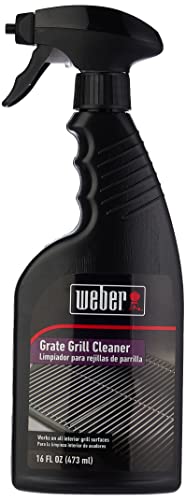
This 16 oz spray bottle of Weber Grill Grate Cleaner was engineered for use on cooking grate surfaces, including stainless steel and porcelain-enameled, cast-iron grates

✅【GreaseKiller BBQ Grill Cleaner Spray】Specially formulated for grills, smokers, and outdoor cooking equipment, this GreaseKiller BBQ Spray helps remove grease, food residue, and everyday buildup for routine grill maintenance.
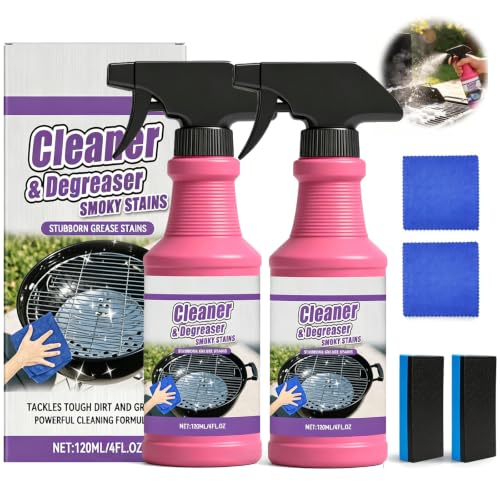
Fast Acting Cleaning Spray: Fast-Acting Heavy-Duty Grill Degreaser Spray, Designed to tackle tough grease, grime and smoky stains, this oven cleaner spray helps break down stubborn residue on kitchen and grill surfaces for a cleaner, fresher look.
Chimney and Grease Management
Your grill’s chimney and grease management system demand equal attention to prevent performance degradation and potential fire hazards. Start by removing the chimney cap and spraying the interior with all-natural degreaser. Scrub thoroughly with a nylon brush, then scrape buildup around the attachment point using a putty knife. Wipe residue with heavy-duty paper towels and vacuum loosened soot completely.
For grease management, empty hopper pellets and vacuum ash from the firepot and hopper. Remove and dispose of drip tray liners, then scrape clumped grease from the auger and firebox. Clear drip tray vents with your putty knife corner and vacuum underneath the firepot for hidden ash. Before reassembling your grill, ensure the temperature probe is clean and properly calibrated for accurate readings. Similar to electric water smokers, proper preheating procedures help establish optimal cooking conditions before you begin your smoking session. Like seasoning salmon with a dry rub or brine, maintaining consistent heat management prevents temperature fluctuations. Regular cleaning and maintenance is key to preventing rust and maintaining your grill’s longevity. Accumulations of grease and smoke can affect the flavor of food you cook on your grill. Proper maintenance also ensures temperature stability during cooking sessions, which is essential for consistent results.
To prevent chimney obstruction and excess creosote buildup, run your grill at high heat post-clean. Inspect for blockages that could cause grease fires before reinstalling the chimney cap. Neglecting these maintenance tasks can significantly shorten your pellet grill’s lifespan, which typically ranges from 5 to 15 years depending on quality and upkeep.

CitruSafe is a pioneer in the grilling industry by manufacturing the first spray specifically formulated to provide a simple, safe, yet powerful alternative to cleaning a barbecue grill’s cooking surfaces (grates). CitruSafe BBQ Grill Cleaner utilizes the cleaning power of citrus peels to provide a natural degreaser. CitruSafe not only saves fuel, but also avoids the unnecessary risks associated with ingesting bristles from wire grill brushes.

ALL-IN-ONE CLEANING REACH: Clear airflow-blocking lint and soot with a 3-inch cleaning head, a 10 ft flexible brush, plus a steel ash scrubber. This versatile dryer vent cleaner kit also doubles as a chimney sweep kit for professional-grade stove pipe and fireplace upkeep.
Fast-Acting Grill Cleaner Spray:This cleaning spray has a precise nozzle design for deep cleaning. say goodbye to the accumulated grease and welcome the sparkling clean grill. let you spend less time cleaning and more time barbecuing.
Exterior and Finishing Touches
Once you’ve addressed the internal components and chimney system, cleaning the grill’s exterior will restore its appearance and protect its finish from deterioration. Start by applying biodegradable degreaser usage to the hood, shelves, and exterior surfaces, allowing a one-minute soak to permeate grime. Wipe thoroughly with wet cloths, rinsing completely and towel-drying to prevent water spots. For stubborn rust, scrub affected areas with a Brillo pad after soaking with degreaser for 20-30 minutes. Consider using non-toxic commercial rust removers designed for cooking surfaces for tougher rust that resists standard scrubbing. Always test your chosen degreaser on an inconspicuous spot before applying it to highly visible exterior surfaces. Use a putty scraper to remove carbon buildup before applying high-temperature paint to repaired sections. For optimal durability on repaired sections, Rust-Oleum High Heat spray paint can withstand temperatures up to 1200°F on metal surfaces and provides corrosion resistance. Focus on cleaning the horns and barrel of the grill to ensure complete coverage. Finish by applying stainless steel polish application to porcelain-enamel parts for a professional shine. Complete your final pass with a dry cloth to guarantee streak-free results. Thoroughly rinsing prevents residual cleaner from damaging the grill’s finish or affecting food flavor. Re-season the grill after cleaning to create a protective non-stick surface that guards against future rust formation. This seasoning process involves heating the grill to a high temperature after applying cooking oil with a high smoke point, allowing the oil to bond and form a durable, rust-resistant coating.
Maintenance Schedule and Best Practices
Establishing a consistent maintenance routine is essential for preserving your pellet grill’s performance and extending its lifespan. You’ll want to tailor your schedule based on usage intensity: light users perform seasonal cleanings, regular users implement monthly or quarterly routines, and heavy users commit to weekly maintenance. Conduct pre-season inspections before summer grilling to identify potential issues. Prioritize drip tray monitoring every 3-5 uses, cleaning grease accumulation and replacing foil inserts as needed. Deep clean your fire pot and drip pan every 4-5 cooks or 20 hours of cooking time. Schedule dedicated deep cleaning sessions lasting several hours. You’ll prevent grease fires through consistent tray and chute maintenance. Use food-safe cleaners exclusively, avoiding harsh chemicals. Like charcoal grills, scraping away debris from interior surfaces helps maintain optimal grill performance and prevents buildup that can affect cooking quality. For grates specifically, consider safe alternatives to wire brushes such as aluminum foil or natural cleaning methods that protect your grill surfaces. Consider adding a dedicated smoke box to enhance your grill’s smoking capabilities while maintaining cleanliness around the cooking chamber. Inspect hidden components like burners and ignitors where buildup creates safety hazards. Cleaning while the grill is still warm eases the process. Similar to the oxygen cutoff method used for charcoal grills, maintaining proper ventilation in your pellet grill prevents dangerous buildup and ensures safe operation. Just as charcoal grills rely on radiant heat from burning embers to cook food effectively, keeping your pellet grill clean ensures proper heat distribution and cooking performance. This disciplined approach doubles your grill’s operational lifespan.