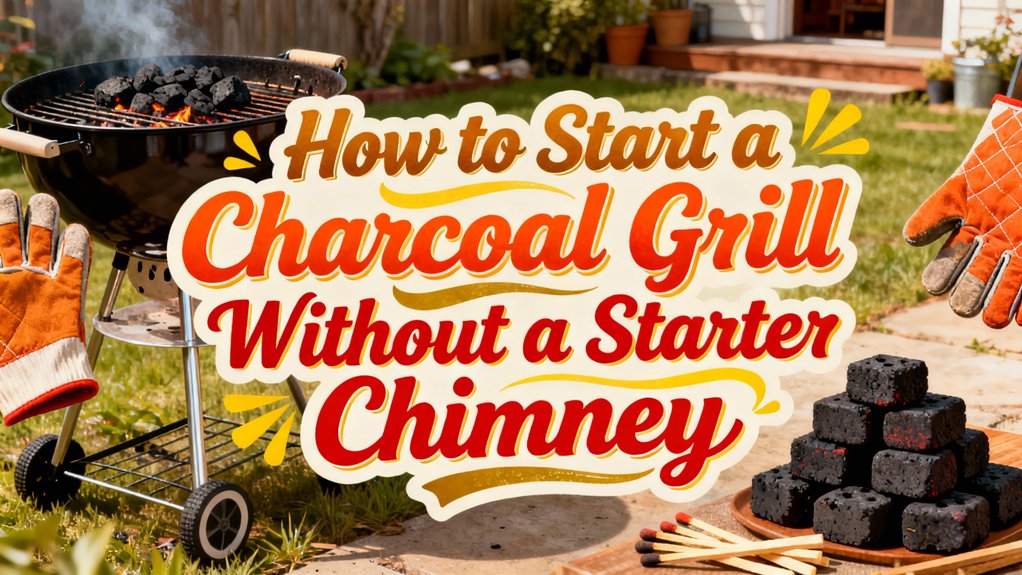
You’ll ignite your charcoal effectively without a chimney starter using household alternatives. Ball up paper towels, soak them in cooking oil, and position them under your coals for reliable ignition. Alternatively, fashion a makeshift chimney from a discarded food can by removing the bottom, punching ventilation holes, and stacking paper and charcoal inside. For faster results, consider specialized heat guns like the Looft Lighter, which ignites coals in roughly 60 seconds. Each method demands proper airflow management and strategic coal arrangement for ideal performance—and there’s considerably more technique to master.
Paper Towel and Oil Method
If you’re looking for a reliable, no-fuss alternative to a chimney starter, the paper towel and oil method delivers consistent results with minimal materials. You’ll need just one or two paper towels, cooking oil, and charcoal briquettes.
Begin by removing your grill grate and pouring in your desired charcoal amount. Ball up your paper towel tightly—proper paper towel folding guarantees effective ignition. Pour a moderate amount of oil onto the balled towel, achieving efficient oil coverage across all surfaces without over-saturating it. Any excess oil can be wiped up with paper towels and used to season your grill grates afterward.
Position your oil-soaked towel strategically within the coals. For low and slow cooking, nestle it to one side; for hot and fast grilling, center it among the briquettes. Light the towel directly. It’ll ignite your coals within minutes, burning longer than newspaper while providing a clean, trustworthy start. Ensure proper airflow by fully opening your grill vents to maintain consistent ignition and heat development. Once your coals are lit, remember that cutting off oxygen supply by closing the grill lid and vents will help you control the fire when you’re ready to extinguish it. Lump charcoal lights more quickly than briquettes, though briquettes burn more evenly if you prefer consistent heat throughout your cooking session. Briquettes are particularly favored for consistent medium heat in low-and-slow cooking applications. Strategic fuel layering allows for gradual ignition and sustained heat throughout your grilling session. After you’ve finished grilling, maintain your grill’s longevity by using natural ingredients like baking soda and vinegar to deep clean your grates and remove residue without harsh chemicals.
Recycled Can Chimney Approach
One of the most accessible alternatives to a commercial chimney starter is fashioning your own from a discarded food can. You’ll remove the bottom using a can opener, then punch three evenly-spaced holes around the circumference for ventilation and support stability. After rinsing and drying thoroughly, you’re ready to assemble your starter.
Stack crumpled paper at the bottom, then layer charcoal directly above it. The can’s metal walls provide excellent can insulation, concentrating heat upward efficiently. You’ll light the paper from underneath, allowing heat to rise through the funnel, igniting charcoal progressively. Within 15-20 minutes, you’ll achieve complete charcoal preparation. A coat hanger handle can be attached to the can for safe maneuvering during the heating process. Unlike commercial chimney starters with secondary helper handles, your DIY version requires extra caution when pouring hot charcoal.
For charcoal supplementation, larger cans accommodate greater quantities than standard sizes. Beans, corn, or other canned goods containers work particularly well for this purpose. Always use tongs for handling—the surface reaches extreme temperatures. Position your starter on concrete or a flame-resistant grill mat to contain ash safely, and remember to measure your grill space before beginning to ensure safe clearance during the charcoal-lighting process. Fire-resistant mats made from recycled materials offer excellent protection for your surrounding surfaces while you work. Once your charcoal is lit and ready, scraping away debris from your grill grates will prepare them for cooking.
Fire Starters With Shallow Coal Bed
When you’re working with a shallow coal bed, fire starter cubes and natural pinewood starters offer reliable alternatives to chimney ignition. Wax cubes composition—paraffin wax combined with newspaper or cotton—burns consistently for 5-10 minutes, providing sustained heat without lighter fluid odors.
Natural pinewood starters deliver superior pine shavings efficiency, burning twice as long as competitors while remaining smokeless and odorless. You’ll arrange 1-2 pieces directly under your shallow coal bed for foolproof ignition. For additional options, ZIP cubes provide excellent heat output at 856°F, making them another dependable choice for shallow coal beds.
Position your starter centrally, then pile charcoal directly overhead. Open all grill vents and keep the lid off to maximize oxygen flow. The radiation and convection from your starter heat adjacent coals evenly across the shallow bed. This method produces quick, controlled ignition while reducing fuel consumption compared to direct lighting approaches, similar to how taller starters demonstrate superior performance over shorter designs. Modern grill designs with integrated ignition systems can also help achieve consistent heat distribution even in shallow coal bed configurations. For permanent backyard installations, consider how grill attachments and grates can enhance fire management and heat distribution across your coal bed. Proper grill grate cleaning with durable tools beforehand ensures optimal heat transfer and prevents debris from affecting your charcoal ignition. Unlike petroleum solvents, homemade fire starters avoid imparting undesirable flavors to your food while providing a safer, chemical-free ignition method. For smoking meats after your charcoal is lit, hickory wood chips offer a smoky, bacon-like flavor that pairs particularly well with pork.

Winter fires without the fuss - Lay one square under your logs, strike a match and sit down. These fire starters light a wood burning fireplace, wood stove, insert or chiminea straight from cold: no newspaper, no kindling, no fluid and no smell in the room. They still catch when the firewood has been stacked outside in the rain, which is why a box earns its place in the log basket next to your fireplace accessories and wood stove accessories from October through March.
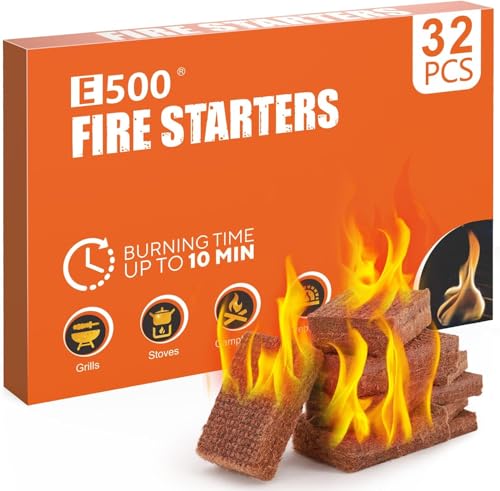
[Lights Quickly] Measuring 1.1 inches, helps start fires much faster, perfect for fire starters for campfires, charcoal starters, grill starters, and outdoor fire pits—never struggle to light a fire again
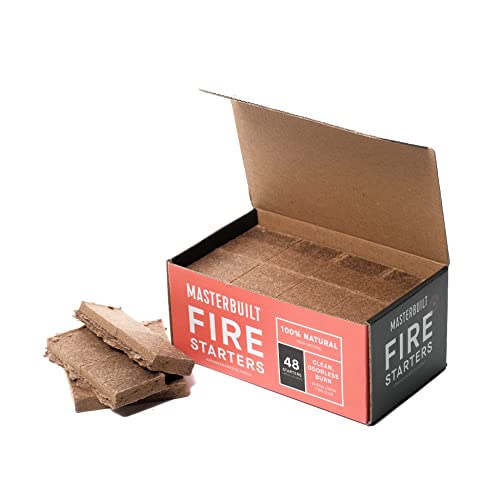
LIGHT CHARCOAL FASTER – Reduce startup time and get to cooking sooner with a charcoal fire starter that delivers sustained heat to help ignite lump charcoal and briquettes quickly and reliably.
Heat Gun Technology (Looft Lighter)
The Looftlighter represents a modern alternative that harnesses superheated air technology to ignite charcoal without lighter fluid or open flames. This electric device generates 1400°F airstreams that light your charcoal in approximately 60 seconds, drastically outperforming traditional chimney starters that require 15-25 minutes.
You’ll appreciate the superheated air performance across the Looftlighter’s product line—Classic, Pro, and X models—each engineered for consistent, rapid ignition. The versatile design applications extend beyond standard grills; you can deploy it on Weber kettles, smokers, kamado units like the Big Green Egg, and firepits. Like quality gas grills that prioritize even heat distribution, the Looftlighter ensures consistent temperature delivery across your charcoal bed. The device includes a 3-year warranty for added peace of mind during extended outdoor use. For long-term grill preservation, durable grill covers like those rated for 5-year longevity protect your equipment from sun, wind, and weather damage when not in use. Unlike traditional lighter fluid methods, this electric charcoal starter provides an environmentally friendly alternative to flammable and toxic ignition sources. For grilling in low-light conditions, integrated hood lighting can complement your starter setup by illuminating the cooking surface as charcoal reaches temperature.
The device’s extended reach penetrates deep grill beds, where standard heat guns fall short. With your grill vents open, you’ll achieve cooking-ready temperatures within five minutes, eliminating chemical residues and safety concerns entirely. For optimal longevity of your grill exterior, consider applying high-temperature spray paint to protect metal surfaces from rust and corrosion during extended outdoor storage. For added protection, keep a multipurpose dry chemical extinguisher rated for Class B and Class C fires stationed nearby to address any unexpected flare-ups during the ignition process.

MATERIAL: Heavy duty stainless steel

POWERFUL ELECTRIC FIRE IGNITER - Design with 120V/600W heating element, heats up fast, gets hot coals and briquette piles within minutes. You can start cooking almost right away. Easy, quick, and effective

Effortless: Turn charcoal grilling into a hassle-free experience. Just plug in, press the button, and cook without lighter fluid.
Natural Ignition Without Chemical Additives
While superheated air technology delivers speed and convenience, you’ll find equally effective ignition methods using everyday materials already in your kitchen and yard. Natural fire starter blocks contain no chemical additives or lighter fluid, making them ideal for chemical-free grilling. Position one to two blocks in your charcoal bed and ignite them with standard matches or a lighter. These all-natural blocks burn independently, creating smoldering tinder that shifts into sustained flames within minutes. Surround blocks with charcoal in a tepee formation to maximize ember preservation and heat concentration. This approach eliminates reliance on commercial products while maintaining reliable ignition performance. Your charcoal edges turn white, signaling ready-to-cook temperatures achieved through pure, additive-free combustion. When using multiple blocks, stir charcoal when lit to redistribute heat and accelerate the ignition process. You can also use a propane grill torch to aim flames directly at the charcoal for faster ignition. For even greater precision, butane torch-style lighters offer superior wind resistance and reach compared to standard disposable options. For routine grill maintenance between sessions, pair your ignition setup with bristle-free brush designs that prevent stray metal bristles from contaminating your food, and clean your cooking surfaces with pumice-based grill cleaning bricks that remove grease and residue without scratching. Bristle-free options like the Grillaholics Bristle-Free Grill Brush feature innovative designs with built-in scrapers that ensure thorough cleaning without the safety hazards of wire bristles. For precise temperature management after ignition, consider grills with adjustable grates that let you raise or lower the cooking surface to control heat intensity for different cooking styles.
Coal Arrangement and Oxygen Management
Once you’ve ignited your charcoal using natural fire starters, you’ll need to arrange it strategically and manage oxygen flow to achieve your desired cooking temperature and heat distribution. Your grate placement determines whether you’re creating direct or indirect heat zones. For direct cooking, spread lit coals evenly in a single layer across your grate. For temperature zoning flexibility, divide coals into two or three piles on opposite sides, leaving the center empty for indirect heat.
Allow charcoal to burn down 10-20 minutes after lighting to develop consistent ash coverage. Control your grill vents to regulate oxygen availability, which directly influences burn rate and temperature intensity. Keeping bottom vents fully open while modulating heat with your top lid damper provides optimal airflow management for consistent temperature control. Distribute coals in appropriate depths—single layers for direct heat, two to three briquettes deep for concentrated zones. This precision guarantees consistent, controllable cooking results. The oxygen you allow into your grill chamber fuels the charcoal’s burn and controls radiant heat intensity, which is the primary method of heat transfer in charcoal grilling. Two-zone indirect fire arrangements with coals piled on one side provide both direct and indirect heat zones for managing flare-ups and longer cooking times. Like compact patio grills designed for even heat retention, charcoal arrangements benefit from strategic placement that maximizes even heat distribution across the cooking surface. Preheating your grill with opened vents ensures even cooking temperature before you begin grilling your food. Consider using a spiral arrangement pattern to create a gradual temperature gradient from the center outward, enabling searing at the hottest point and slower cooking toward the cooler perimeter. Selecting the right grill grate material such as cast iron or stainless steel will further enhance your heat retention and searing capabilities based on your maintenance preferences.