
You’ll master charcoal grilling by mastering three essentials: use a chimney starter for consistent ignition, create a two-zone fire by banking unlit charcoal opposite your hot zone, and control temperature through vent adjustments rather than guesswork. Select briquettes for steady, long-lasting heat or lump charcoal for high-heat searing. Clean your grates regularly and monitor temperatures with probe thermometers at food level. These fundamentals’ll transform you from uncertain beginner to confident grillmaster—but there’s considerably more technique worth exploring.
Lighting Charcoal the Right Way
Whether you’re prepping for a quick weeknight dinner or an all-day smoking session, how you light your charcoal fundamentally shapes your grilling experience. A chimney starter delivers superior fuel ignition consistency by channeling convection heat through its cylindrical design. You’ll fill the top chamber with charcoal, light starter material below, and wait 15-20 minutes until coals ash over gray. The chimney starter is the fastest method and typically requires less than 20 minutes total time to grill.
For direct setups, the pyramid method offers an effective alternative. Stack charcoal in criss-cross layers to guarantee uniform air circulation from the base upward. Light at the bottom using a long-handed lighter, building heat gradually through the tiered structure. The pyramid method can be more time-consuming but works well for larger grills or when igniting significant amounts of charcoal.
Whichever method you choose, avoid lighter fluid. Instead, use paraffin cubes, newspaper, or wood block fire starters for clean ignition. Many grillers use fewer starter cubes than package directions recommend and still achieve consistent results. Another option is using paper towels soaked with cooking oil as an effective and accessible fire starter. Ensure proper airflow by fully opening the grill vents before lighting to promote efficient combustion and temperature control. Dump coals only when lightly coated in white ash—your signal they’re ready to cook.

Porcelain-Enamel coating for Superior quality: double-enameled construction withstands extreme heat from while resisting deformation. Protects against thermal shocks and corrosion for long-term durability. simplifies cleaning

《No fear of moisture or rain! natural fire starters 15 minutes to start a fire efficiently》: our natural fire starter will start a blazing fire in no time, even in bad weather. And with a burn time of up to 15 minutes, it's perfect for starting large pieces of firewood or charcoal, making it easy and efficient to start a fire.
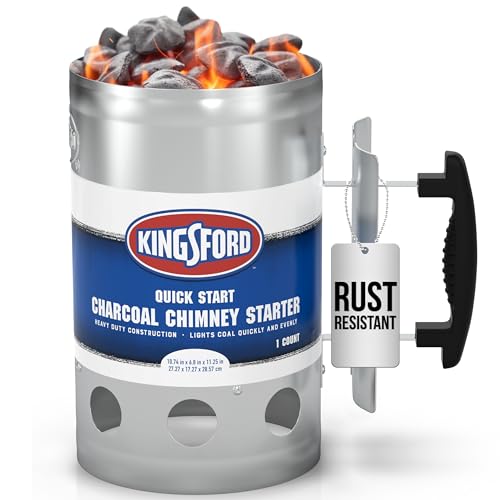
FAST CHARCOAL LIGHTER PULLS STEADY AIRFLOW FOR EVEN IGNITION: Helps get briquettes lit quickly and more evenly by pulling steady airflow through the chimney, reducing time from lighting to cooking for grills, smokers, and kettles.
Creating and Managing a Two-Zone Fire
Once you’ve mastered single-zone lighting, you’ll want to graduate to a two-zone fire—the technique that separates beginners from confident grillers. Your fuel placement determines everything: bank unlit charcoal to one side, then top it with lit briquettes to establish your hot zone. Position the cool zone on the opposite side, creating a natural heat gradient across your grill surface.
This setup enables superior temperature regulation. You’ll sear proteins quickly over direct heat, then shift them to the cool zone for gentle cooking without flare-ups. Position top vents over the cool side to direct smoke flow and prevent overheating. Maintain open bottom vents initially, then adjust both vent positions to sustain your target temperature. Wait for your coals to ash over before using them to ensure optimal heat distribution. This dual-zone approach lets you control exactly how your food cooks. The burning charcoal embers generate intense radiant heat that cooks food directly from below while the grill grate provides conductive heat transfer for perfect sear marks. Both charcoal and gas grills can be configured for two-zone cooking, making this versatile method accessible to any griller. Popular kettle-style grills excel at two-zone cooking thanks to their efficient airflow design and rounded cooking surface. Keeping your ash catcher clean ensures consistent airflow and maintains stable temperatures throughout your cooking session. Consider choosing between lump charcoal or briquettes based on whether you prioritize quick-lighting convenience or longer, steadier burn times for your cooking style. Look for grills with hinged grates that allow you to add more charcoal mid-cook without removing food from the cooking surface.
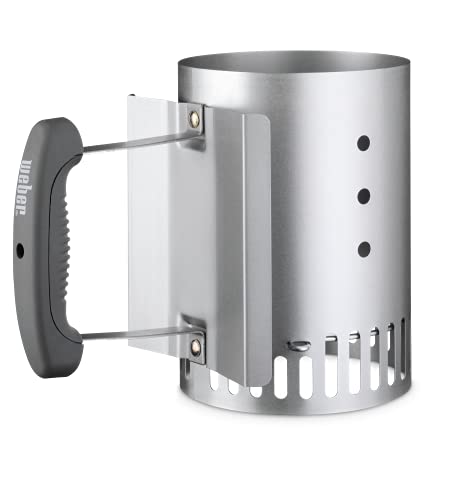
Lights coals in under 15 minutes. Dimensions : 8 H x 5.8 W x 10.4 D inches

Gas and charcoal combination grill with additional side burner for ultimate cooking versatility - Dual fuel grills, sometimes called combo grills or dual-function grills or multifuel grills, are a newer style of grill that combines the best of charcoal grilling along with the convenience of a gas grill in one

Charcoal barrel grill and offset smoker combination
Mastering Temperature Control
Now that you’ve established your two-zone fire, temperature control becomes your primary concern—and it’s governed almost entirely by airflow, not charcoal quantity. You’ll regulate heat by adjusting airflow dampers strategically positioned on your grill’s lid and bowl. Keep bottom dampers fully open while positioning the top lid damper to achieve your target range: fully open for high heat (450-550°F), half-open for medium (350-450°F), or one-quarter open for low (250-350°F).
Employ using thermometer technology—specifically remote probe thermometers positioned at food level—rather than relying on dome thermometers. Make small, incremental adjustments when adjusting airflow dampers, allowing time for temperature stabilization before further modifications. Different charcoal types respond uniquely to oxygen flow, so lump charcoal burns hotter while briquettes provide steadier heat for extended cooking. Maintain grill cleanliness to prevent ash buildup from restricting oxygen flow and degrading performance. A water pan can help regulate temperature and add moisture to your cooking environment, providing additional stability during longer smoking sessions. For those seeking enhanced flavor profiles, lump charcoal offers varied wood flavors like pecan, hickory, oak, or apple that can complement your food. Kamado-style grills with thick ceramic insulation excel at maintaining steady temperatures while using minimal charcoal compared to standard grills. When you’re finished cooking, safely extinguish the coals by closing all vents completely to cut off the oxygen supply, allowing them to cool naturally over several hours.

Compatibility: Compatible with Weber 22" kettle charcoal grills and other similar size kettle grills, which is the companion for your outdoor grilling.( Comes with 4pcs clip supports to hold the grill grate.)

BBQ / Grill pit thermometer, safe and environmentally friendly.
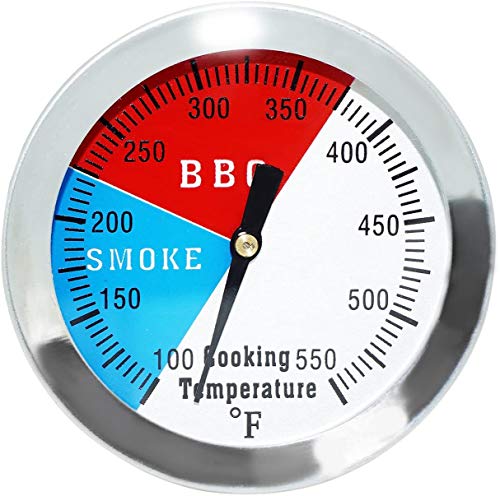
2" BBQ grill smoker pit thermometer stainless steel thermostat pit temp gauge
Selecting and Preparing Your Charcoal
With your dampers dialed in and temperature stabilized, your charcoal selection directly impacts how long you’ll maintain that heat and what flavors you’ll impart to your food. When making charcoal purchasing considerations, match fuel type to your cooking duration and heat requirements. Lump charcoal delivers high heat for quick searing, while briquettes sustain medium temperatures for extended sessions. Flavored varieties introduce bold taste within three hours, whereas binchotan offers premium performance with minimal ash.
Your charcoal storage requirements demand dry conditions to preserve ignition capability. Store fuel in airtight containers away from moisture, ensuring your supply remains viable between grilling sessions. Using a chimney starter provides consistent ignition without lighter fluid, protecting your food’s flavor profile during the initial burn phase. Different grill types like kettle grills feature adjustable air vents that work efficiently with various charcoal types. Consider your grill type when selecting charcoal—kamado grills maximize airflow with large lump, while kettle grills adapt to both lump and briquettes depending on your cooking style. For low-and-slow cooking in offset smokers, briquettes provide the consistent medium heat and long burn times needed to maintain steady temperatures throughout extended sessions. Premium brands like Jealous Devil and Rockwood produce dense, large-piece lump that minimizes sparking and allows for charcoal reuse across multiple grilling sessions. Prioritize natural hardwoods over products with additives to achieve optimal smoking results and cleaner burns. For added smoke flavor, blend your charcoal with red oak or post oak wood chunks, which provide a strong yet balanced profile ideal for beef and pork without overpowering your meat. If you’re using a pellet smoker, Royal Oak 100% charcoal pellets offer superior heat output and clean-burning properties compared to blended alternatives.

Dense Hardwood Performance: Made from dense South American quebracho blanco hardwood that burns hotter and longer than standard lump charcoal with consistent heat output and reduced wood consumption

20 pounds of 100 percent natural lump charcoal

PREMIUM HARDWOOD BLEND FOR RICH FLAVOR – Rockwood natural lump charcoal is made from a carefully selected mix of Oak, Hickory, and Cherry hardwoods. This wood charcoal for grilling infuses your BBQ with a rich, smoky flavor that enhances the taste of meats, vegetables, and more.
Essential Cleaning and Maintenance Practices
Keeping your grill in peak condition starts the moment you finish cooking—the residual heat from your coals creates the perfect window for grate cleaning before debris hardens and becomes stubborn. You’ll scrub warm grates with a grill brush or scraper, employing effective grate polishing techniques like aluminum foil or soft-bristle brushes for tough spots. For your extended cleaning schedule, perform deep cleans monthly or every five uses by soaking grates in hot soapy water or vinegar solution for 15-30 minutes. After rinsing thoroughly and air drying, lightly coat with vegetable oil to prevent rust. Don’t neglect interior maintenance—wait for coals to cool completely, then remove ash, scrape grease with a putty knife, and wipe surfaces with vinegar-water mix or natural degreaser. A pressurized water source can significantly reduce cleaning time by delivering strong spray to dislodge tough grease and food residues from interior surfaces. Regular maintenance like this extends the grill’s lifespan and ensures your equipment remains reliable for years of cooking. For stubborn grease buildup, use baking soda and vinegar to effectively loosen residues from interior surfaces. For cold grates with baked-on grime, consider a dedicated grill cleaner that cuts through buildup in minutes with minimal scrubbing on porcelain and stainless steel surfaces. After cleaning, applying a thin coat of oil helps prevent rust and maintains the grates’ non-stick properties, similar to how seasoning ribs with a dry rub prepares them for optimal flavor development during grilling. Clean the grill’s exterior carefully using dish spray and soft sponges to remove dirt and residue without damaging the surface finish. For stainless steel exteriors, always finish by buffing with a microfiber cloth to prevent water spots and maintain shine. Cover your grill when not in use and conduct thorough seasonal cleanings for excellent performance.

Extra Strong Ergonomic Handle - Still believe that as long as the bristles are stiff enough, the grill cleaning brush can live up to the name - a good barbecue brush? Of course not! A soft and sturdy handle with a stainless steel ring for hanging can make the clean work easier. No possibility such as the handle breaking up or snapped. You can succeed in using this BBQ cleaner for a very long time!
![GRILLART Grill Brush [Wire + Helix] Combined BBQ Brush - Safe & Efficient Grill Cleaning Brush - 18" Grill Cleaner Brush Scrubber for Gas/Porcelain/Charbroil Grates – BBQ Accessories Gifts for Men/Dad](https://m.media-amazon.com/images/I/51MfqURyf-L._SL500_.jpg)
【[WIRE & Helix] 2 in 1 combo brush - Safe + Efficient】A Wire & Helix integrated brush -Wire brush side can efficiently clean stubborn stains left on grill, then helix side can dually clean it to ensure no possible stray wire can possibly stay on your grill. With this bbq grill brush, you can have the fast-cleaning efficiency of wire brush &stay away from wire ingesting case at the same time. Ever wanna keep your food stay 100% safe, but hate to give up faster cleaning?You'll love it

【The Safest Bristle Free Grill Cleaner】:No wire bristles at all, no melting like nylon grill brushes; With this safe grill brush and scraper, your food will stay 100% Bristle Free. No more worry about swallowing some metal pieces, Let's free to gobble up some favorite barbecue! Save your effort and time, let’s just have fun! (PATENTED design)


