
You’ll master your pellet grill by understanding its core mechanics—how the auger feeds hardwood pellets to the ignition rod, how the PID controller maintains temperature through automated adjustments, and how proper maintenance prevents performance issues that plague unprepared operators. Start by assembling components properly, seasoning grates, and preheating at 350-400°F for 45-60 minutes. Select 100% hardwood pellets without fillers, store them in airtight containers, and establish a consistent cleaning schedule. The details behind each step uncover consistent results.
How Pellet Grills Work
Pellet grills rely on hardwood pellets as their primary fuel source, which you’ll store in a hopper container attached to the grill. An electrically powered auger then feeds compressed pellets into the firebox at controlled rates based on your temperature settings. When pellets reach the firebox, an ignition rod heats them to initiate combustion. Fans force air across the ignited pellets, providing oxygen necessary to sustain the fire. Once burning, the ignition rod shuts off automatically while internal fans continue circulating air throughout the cooking chamber. Digital controllers measure interior temperature using thermocouples and automatically adjust pellet feed rates to maintain your desired temperature. This system delivers efficient fuel consumption and precise smoke production, enabling you to cook at temperatures ranging from 180°F to 500°F without manual intervention. The combustion fan circulates air to maintain consistent heat distribution throughout the grill. Wood pellets are made from compressed wood waste with no added chemicals, ensuring a clean and sustainable fuel source for your cooking needs. To maintain optimal performance, regular internal component cleaning keeps your grill operating efficiently and prevents buildup that can affect temperature control and smoke production. The drip tray positioned below the fire pot keeps flames away from your food while preventing dangerous flare-ups during the cooking process. Like Blackstone grills, pellet grills offer versatile cooking capacity for preparing multiple food items simultaneously. Models like the Z Grills 700D3 feature a large 20 lb. pellet hopper that matches standard pellet bag sizes for added convenience. Proper startup procedures, whether using open-lid or closed-lid methods depending on your grill model, ensure successful ignition and optimal combustion from the first cook.
Getting Your Grill Ready to Cook
Before you’ll need to properly assemble and inspect your grill to ascertain all components are in place and functioning correctly. Remove packaging materials, verify the heat baffle, drip tray, and grill grates are installed properly, then organize your workspace with necessary tools.
Next, season your cooking grates by applying a thin oil layer with a smoke point above 400°F—canola or grapeseed work well. Oil them while the grill heats for even coverage.
Fill the hopper with wood pellets and activate prime mode until pellets enter the burn pot. Power on your grill, set your desired temperature, and hold IGNITE until the fan starts. Keep the lid open 5-10 minutes for fire stabilization. The fan system helps the pellets continue to burn by providing a constant oxygen source and circulating heat and smoke. This initial seasoning process bakes a protective oil layer onto the internal components to create a non-stick, rust-resistant cooking surface.
Finally, preheat at 350-400°F for 45-60 minutes to burn off manufacturing residues. Popular models like the Traeger Grills Pro 22 offer reliable performance for beginners during this startup process. Pellet grills require less manual tending than traditional charcoal or gas grills thanks to their advanced temperature control systems. To maintain optimal performance and longevity, establish a regular cleaning schedule to prevent grease buildup and potential fires. This process guarantees achieving perfect sear capabilities while perfecting grill maintenance for excellent performance.

Citrus and spice seasoning for chicken dishes

Season your Traeger Flatrock or other favorite cast iron cookware for a non-stick cooking surface
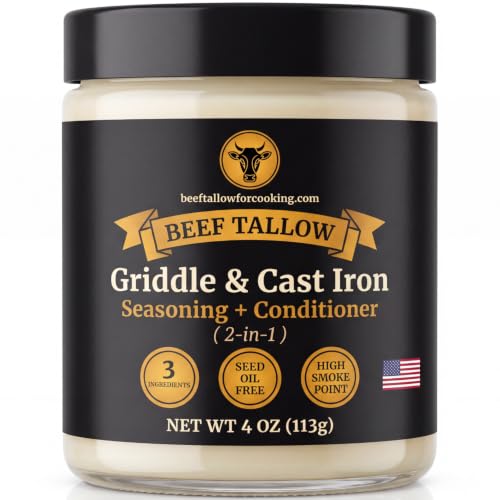
THE SEED OIL FREE FORMULA — Golden Render is the world's first seed oil free, tallow-based griddle seasoning & cast iron conditioner. While others use soy, shortening, grapeseed, sunflower or canola, we use just 3 clean ingredients: beef tallow, avocado oil & beeswax.
Mastering Temperature Control
Once your grill’s stabilized after the initial preheat, you’ll shift focus to the backbone of consistent cooking: temperature control. Your PID controller automatically adjusts the pellet feed and airflow to maintain your set temperature, but you’ll encounter normal fluctuations as it calculates average heat output.
For troubleshooting temperature fluctuations, adjust your P setting—increasing it raises auger off-time, lowering your average temperature. Shield your grill from wind, cold, and humidity to improve stability. Experiment with quality hardwood pellets; consistent burn rates directly impact predictability. Different hardwood pellet blends like hickory and apple influence smoke flavor and combustion consistency, affecting your grill’s temperature stability. An ignition rod heats the pellets while a fan forces air across the fire pot to ensure reliable combustion and stable temperatures throughout your cook. Understanding how temperature probe lag affects your controller’s response time will help you anticipate and compensate for minor overshoot during your initial startup phase. The automatic startup procedure uses digital temperature controls to regulate heat output, ensuring your grill reaches and maintains your desired cooking temperature.
Monitor external conditions closely. Cold weather or strong winds demand compensation adjustments. Premium pellet smokers with WiFi connectivity allow you to adjust settings remotely and monitor temperatures from your smartphone, adding convenience to your outdoor cooking experience. For enhanced accuracy, consider pairing your built-in controller with a wireless grill thermometer to verify temperatures across different zones. Instant-read thermometers like the ThermoWorks Thermapen ONE offer quick verification checks during your cook. Use a secondary thermometer alongside your built-in controller for verification. These steps guarantee maintaining consistent temperatures across your cook, delivering reliable results every time you smoke.
Choosing the Right Pellets
How much flavor impact can you achieve by selecting the right wood? You’ll dramatically enhance your results by prioritizing pellet quality metrics. Choose 100% hardwood pellets without fillers—they guarantee pure flavor and consistent burn. Avoid softwood pellets; their high sap content produces bitter taste. Verify kiln-dried construction for uniform size and steady feed rates.
Implement proper pellet storage techniques immediately. Store pellets in airtight containers to prevent moisture absorption and clumping. Keep inventory in dry, cool spaces away from humidity. Before use, inspect batches for mold or infestation—discard compromised stock. Consider models like the Weber Searwood 600 which address pellet jam issues through improved design. Different pellet grill brands offer varying storage capacity options to accommodate your inventory needs. Natural hardwoods without additives produce cleaner burns and less ash compared to flavored or additive-laden products. Top-performing brands like Traeger and Lumberjack deliver consistent results through rigorous quality control and 100% natural hardwood composition.
Match wood types strategically: hickory for pork, mesquite for beef, fruitwoods for poultry. Blending different woods allows you to balance flavor intensity and create custom smoke profiles tailored to your preferences. Experimenting with wood pairings to meats helps you discover your preferred flavor profiles. Stock multiple pellet types based on your cooking frequency and preferred meats, noting that heavier woods work best for long smokes on larger cuts while milder woods suit poultry. This approach maximizes flavor while maintaining grill performance.

KINGSFORD CRAFTSMOKE PREMIUM WOOD PELLETS: Introducing Craftsmoke, the premium line of natural hardwood pellets, crafted in small batches for the chef in all of us; pack may vary
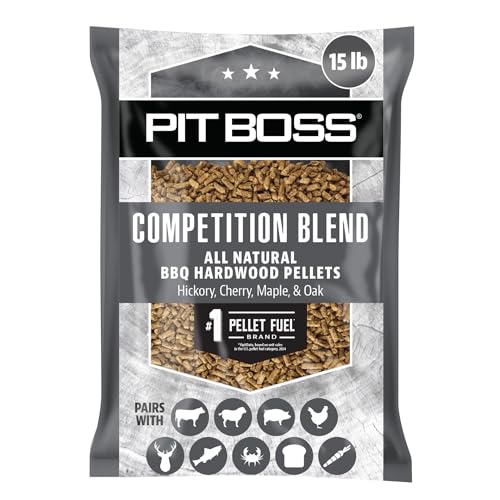
Pit Boss pellets are the #1 pellet fuel brand* Americans trust

Keeping Your Grill in Top Shape
Your pellet grill’s performance depends on consistent maintenance that you’ll want to prioritize after every cooking session. Empty ash trays immediately and remove grease debris every four to five sessions to prevent clogged drain tubes and potential fires. Plan grease tray replacement when standing grease accumulates, or use foil liners for easier cleanup.
Schedule deep cleaning after 18-20 hours of cooking time, disassembling removable components thoroughly. Clean the burn pot every three to five sessions using a putty knife to prevent ash buildup that impedes ignition. Better airflow from regular cleaning allows for improved temperature control during your smoking sessions. Scrub the interior grates with a grill brush to remove food residue and buildup that can affect performance. For stubborn carbon buildup inside your grill, use a 50/50 water and vinegar solution to help loosen and remove tough residues. Don’t forget to clean your internal temperature probe with a vinegar and water solution to ensure accurate readings throughout your cook. For particularly difficult grime that resists standard vinegar solutions, specialized metal scrapers can effectively remove baked-on residue without damaging your grill’s interior surfaces. When selecting a brush for your grates, bristle-free designs reduce the risk of debris contamination compared to traditional wire-bristle options.
Establish an annual maintenance schedule including chimney inspection every 200 hours of smoking. Before wet cleaning, remove pellets from the hopper and disconnect electrical connections. For tough, baked-on residues that resist standard scrubbing, consider using natural abrasives and degreasers to break down stubborn grime without harsh chemicals. Allow 24 hours drying time before your next grilling session.