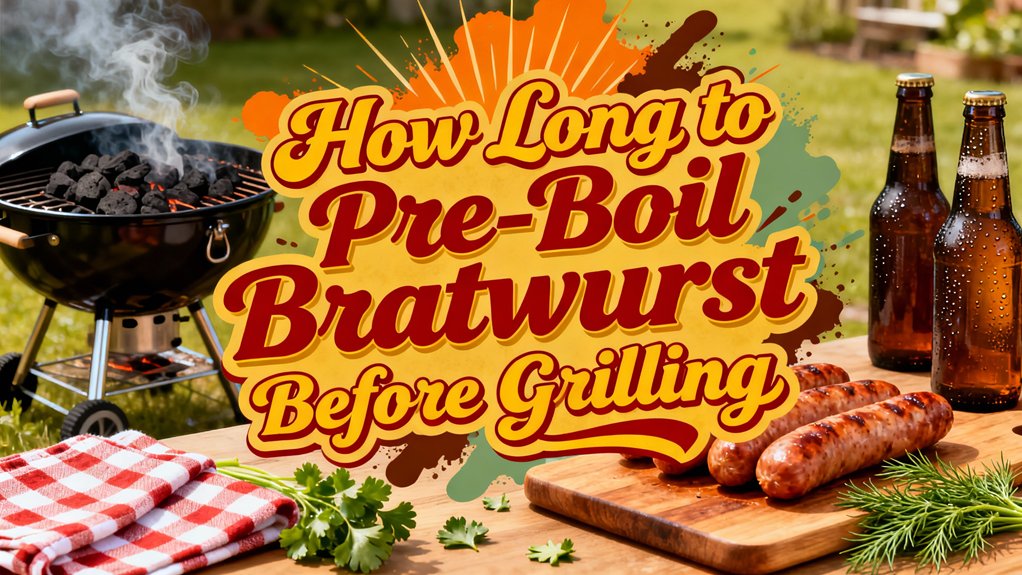
You’ll want to simmer your bratwurst for 10-15 minutes in beer or water until they’re fully submerged three-quarters deep and reach an internal temperature of 150°F. This parboiling method infuses exceptional flavor while locking in juiciness before grilling. Start with cold liquid, bring it to a gentle simmer, then pat your brats dry for maximum browning. For ideal results, finish them on medium-low heat to develop that perfectly snapped casing. However, there’s more to contemplate about technique variations and potential alternatives.
Optimal Parboiling Duration
Since you’re aiming for perfectly cooked bratwurst that’s tender inside with a crispy exterior, timing your parboil is critical. You’ll want to simmer fresh brats for 10-15 minutes until they reach an internal temperature of 150°F. Parboil timing variations depend on your chosen liquid—water requires the standard 10-15 minutes, while beer-based parboils demand 15-20 minutes for ideal flavor infusion and proper cooking.
The appropriate pre-boil temperature range keeps your brats from splitting. You’re looking at a gentle simmer, not a rolling boil. Start with cold liquid submerging three-quarters of your sausages, then bring it to a boil before reducing heat immediately. This controlled approach prevents casings from cracking while ensuring even heat distribution throughout the meat, preparing them flawlessly for subsequent grilling. Similar to other grilled meats, maintaining controlled low temperatures during the cooking process helps achieve optimal tenderness and prevents the casings from bursting. You can parboil your brats either inside on a stovetop or outside over a grill for added convenience. After parboiling, transfer your brats to medium-low heat on your gas or pellet grill to finish cooking and achieve those desirable charred spots on the exterior. Before placing your brats on the grill, ensure you’ve preheated it for 10-15 minutes with the lid closed and burners on high to reach optimal searing temperatures. If you prefer to skip parboiling altogether, you can achieve excellent results using alternative stovetop techniques like pan-frying with beer and onions or cooking in a cast iron skillet. Resting brats for 5 to 10 minutes post-grill helps seal in juices and complete the cooking process. Always rely on an instant-read thermometer rather than visual cues to verify doneness, as this ensures your bratwurst reaches safe internal temperatures without overcooking.
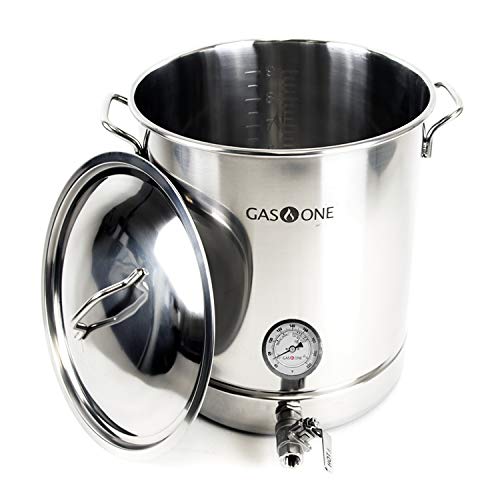
HIGH QUALITY STAINLESS STEEL- Very easy to clean, Long lasting, Safe and durable, Good heat conduction, Sleek look
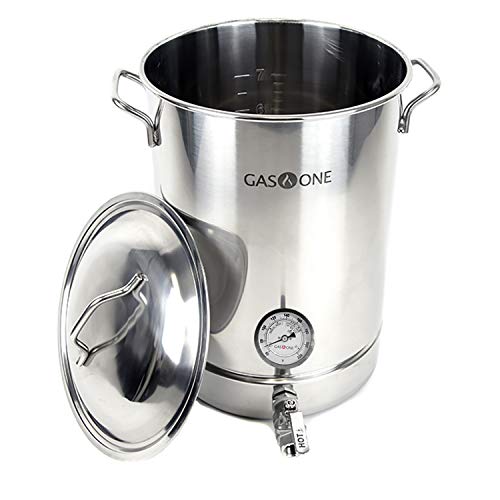
HIGH QUALITY STAINLESS STEEL- Very easy to clean, Long lasting, Safe and durable, Good heat conduction, Sleek look

Professional Brewing Equipment: This home brew kettle set is equipped with a stainless-steel brewing pot, thermometer, ball valve, and other small beer brewing accessories, making it suitable for crafting a variety of beers. From smooth ales to delicious porters and hopped beers, it's the first choice for brewing enthusiasts. With a large 5-gallon capacity, this brew pot is ideal for home beer brewing, cooking, boiling water, dyeing fabrics, or any activity that requires a large volume.
Key Benefits of Pre-Boiling Your Brats
When you pre-boil your bratwurst, you’re not just cooking them partway through—you’re activating a cascade of culinary advantages that’ll transform your final product. The beer and onion infusion during simmering delivers exceptional flavor intensity that grilling alone can’t achieve. Pre-soaking allows your brats to absorb the liquid, markedly enhancing taste complexity.
Moisture retention stands as a critical benefit. Simmering locks in juiciness before you apply direct heat, preventing the splitting and drying that plague traditional grilling methods. You’ll reduce your grill time considerably while maintaining a tender interior with a properly snapped casing. However, parboiling can result in mushy texture and rubbery casings if not monitored carefully during the simmering process. Slower grilling on medium-low heat after parboiling allows proteins to properly bind with fats and seasonings for optimal flavor development.
This method produces consistent results: even cooking throughout, balanced texture, and preserved juiciness. Cleaning and oiling the grill grates before transferring your pre-boiled brats prevents sticking and ensures those perfect grill marks. Regular light cleaning after each grilling session helps maintain optimal grate performance and prevents flavor transfer between cooking sessions. Avoid lining your grill with aluminum foil, as it restricts airflow and heat distribution, leading to uneven cooking and potential flare-ups. You’re fundamentally front-loading the cooking process for superior final outcomes that justify why tailgate enthusiasts and manufacturers like Johnsonville endorse this approach.

Brewer's Best American Amber

COMPLETE DIY KIT: Comes with 1 pack of Bearded Butcher Beer Bratwurst Seasoning (15 oz) and 1 pack of 32mm collagen casings to make up to 25 lbs of bratwurst. Just add 25 lbs of your favorite meat.

🍺 CONSISTENT RESULTS - Unlike those expensive 1 gallon grain kits, our 2 gallon recipes take just minutes to prepare and the results are scary-good! Don't be fooled by competitors messy, time consuming kits that use a jug or bucket. Our patented pro-style conical fermenter and easy-to-use recipes, produce a wicked-good result every time you brew.
Parboiling Methods and Techniques
You’ve got several effective approaches to parboil your bratwurst, each tailored to your cooking setup and available equipment. The stovetop method remains straightforward: submerge brats in water or beer, then simmer 6-8 minutes until they’re fully gray. For grill-side parboiling, use a cast-iron skillet on your hot grill, covering sausages three-quarters with liquid, and simmer 10-15 minutes to reach 150°F internally. The beer bath technique combines boiling beer with sliced onions, adding brats for 10-15 minutes of simmering. Your ideal liquid selection—whether water, beer, or a combination—affects flavor development. Regardless of method, the minimum parboil time guarantees thorough cooking before grilling. Parboiling also prevents bursting of the sausages when they hit the hot grill grates. This gentle simmering process locks in juiciness and flavor while ensuring your brats cook evenly throughout. Always pat brats dry post-parboil for maximum browning on the grill. After grilling, you can keep your brats warm and flavorful by resting them in a beer bath with onions until ready to serve. Once you’ve finished parboiling and moved to grilling, managing airflow through your grill’s vents helps maintain consistent temperature for even cooking. If your charcoal grill features adjustable grates, you can raise the cooking surface away from direct heat to finish the brats gently after achieving initial char. When you’re done grilling, remember to close all vents completely to safely extinguish your charcoal and preserve unused fuel. Keep a fire extinguisher nearby throughout the grilling process for quick response to any unexpected flare-ups.

Fabric Type: Rubber

Versatile Cooking Skillet: The Lodge Cast Iron Skillet is a multipurpose, everyday cooking pan that excels at searing, sautéing, baking, frying, and campfire meals

Steakhouse Sear At Home: The Lodge Square Cast Iron Grill Pan delivers high-heat searing and bold grill marks while channeling excess grease away
Potential Drawbacks to Consider
While parboiling offers convenience and reduced grilling time, it comes with significant trade-offs that can compromise your bratwurst’s quality. You’ll experience notable losses in flavor intensity as the cooking medium dilutes natural seasonings, and the wet exterior prevents proper Maillard reaction development on the grill. Your textural quality suffers dramatically—proteins denature rapidly, creating mushy meat while casings become rubbery and separate from the filling, losing their desirable snap. Additionally, you’ll lose substantial juices and fats to the water or beer bath, resulting in drier interiors despite shorter subsequent grilling. The uniform heat also creates overcooking risks in certain sections. Slower grilling at around 300 degrees with frequent turning allows proteins to properly bind with fats, seasonings, and casing, creating the snap and texture that define quality bratwurst. Similar to smoking meats where precise temperature control ensures optimal doneness without drying out, maintaining consistent heat prevents moisture loss in bratwurst. When grilling bratwurst, radiant heat from the charcoal embers works in tandem with conduction from the hot grate to create ideal searing conditions that parboiled casings cannot achieve. Methods like steam and sear enhance both flavor and texture far more effectively than parboiling alone. Creating a two-zone fire setup enables you to move bratwurst between high-heat searing zones and cooler areas for gentle finishing without the moisture loss of parboiling. Grilling at medium heat between 325 and 375°F provides enough warmth to brown and tenderize bratwurst without the harsh charring that occurs at higher temperatures. After cooking, resting the bratwurst for a few minutes allows juices to redistribute, preventing them from running out when you cut into the casing. These drawbacks collectively undermine the bratwurst’s structural integrity and flavor profile compared to direct grilling methods.
No-Parboil Grilling as an Alternative
If you’re willing to invest attention during the cooking process, direct grilling offers a superior alternative that preserves the bratwurst’s integrity. You’ll place uncooked brats directly on a 300-degree grill, turning them every few minutes to develop grill marks while preventing splitting.
A two-zone setup proves essential: use the hot zone for browning and the cold zone for continued cooking without direct heat. This approach maintains casing integrity by avoiding the mushy texture and rubber-like exterior that parboiling creates. You’ll retain natural juices through gradual temperature application, enabling proper flavor development as beer and onion infuse during grilling rather than pre-cooking. The soaking step of at least 12 hours allows the brats to absorb beer flavor and helps prevent casings from splitting before they even hit the grill. To ensure food safety and optimal doneness, use an instant-read thermometer to check that your bratwurst has reached the proper internal temperature. For monitoring multiple brats simultaneously across different grill zones, a wireless grill thermometer with multiple probes eliminates constant lid-opening while tracking each sausage’s progress. After removing from the grill, let the bratwurst rest for several minutes so juices redistribute throughout the meat, ensuring each bite delivers maximum flavor and tenderness. For serious pitmasters seeking ±0.5°F accuracy, the ThermoWorks Thermapen ONE delivers professional-grade temperature readings in just one second. Proper grease management becomes critical during direct grilling, as bratwurst fat drips can cause flare-ups that char the casing and create uneven cooking. Major producers like Johnsonville and Usinger’s recommend this method as settled science, eliminating parboiling while delivering authentic results.

More Stable Than Bluetooth: Our advanced RF technology ensures a stronger, more reliable connection than Bluetooth. This smoker thermometer provides the freedom to move around without losing connection! Monitor your BBQ from up to 1,000 feet away!

PERFECT DONENESS, EVERY TIME: This smart cooking thermometer takes away guesswork with real-time internal temperature updates, flip reminders, rest timers, estimated cooking times, Guided Cooking recipes, and more!

【Easier to Use】Equipped with 2 meat probes, this BBQ thermometer for grill allows you to monitor separate meats or the grill temperature simultaneously, a real comfort in grilling several pork loins for large groups with different tastes
Safe Internal Temperature Guidelines
Regardless of your grilling method—whether you’re using direct heat or a two-zone setup—monitoring internal temperature remains the only reliable way to guarantee food safety and perfect doneness. The USDA mandates a minimum brat temperature of 160°F (71°C) to destroy pathogens like Salmonella. You’ll want to insert your instant-read thermometer through the end of each brat to avoid splitting and confirm accuracy within ±0.5°F. Some grilling experts pull brats at 155°F, relying on carryover cooking to reach the safe handling practices threshold. However, this method requires immediate consumption. For verified safety, reach 160°F before serving. Higher temperatures—190-195°F—develop preferred texture and browning, though they’re optional beyond the minimum requirement. When using the stovetop cooking method, you can reduce the total cooking time by first simmering the sausage in water before transferring it to the grill. Skipping par-boiling fresh brats before grilling takes about the same time as the pre-cooking method while allowing flavors to develop properly in the casing. Just as with chicken, using a meat thermometer inserted in the thickest part of your brat is crucial to ensure proper doneness without overcooking. Similar to grilling other meats, resting before slicing allows the juices to redistribute throughout the sausage for optimal texture and moisture retention. For precise readings, consider investing in models like the Thermapen ONE, which delivers one-second accuracy and prevents the guesswork that leads to dry or undercooked sausages. Wireless probes with app-guided cooking features offer hands-off monitoring throughout extended grilling sessions, maintaining consistent temperature tracking without requiring you to stand by the grill. Before grilling, ensure your grill grates are free from rust buildup by scrubbing with a grill brush, as rust can affect food taste and cause brats to stick during cooking.