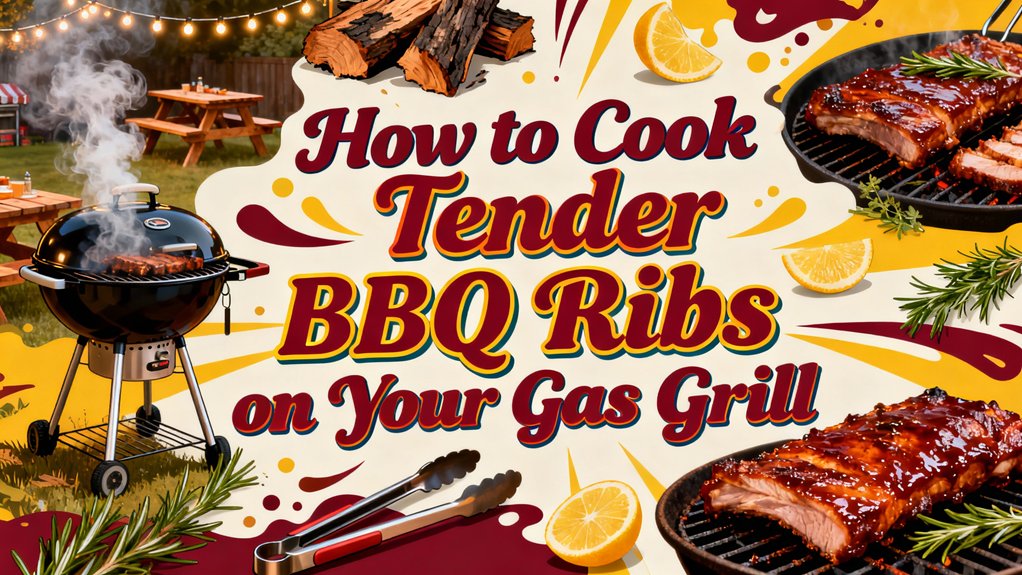
You’ll transform tough ribs into tender, fall-off-the-bone meat using indirect heat at 250-300°F on your gas grill. Start by preheating, then position ribs bone-side down away from active burners for 45 minutes. Wrap them in foil with apple juice and cook at 325°F for 60-75 minutes until reaching 204°F internally. Finally, unwrap and glaze at 250-275°F for 20-30 minutes until the sauce sets tacky. Mastering each phase reveals the complete technique for perfect results every time.
Temperature Control and Setup
Mastering temperature control is the foundation of smoking ribs on a gas grill, and you’ll want to preheat your grill to 250-300°F before placing your meat on the grates. Allow 10-12 minutes for complete temperature stabilization after igniting all burners simultaneously.
For optimal indirect heat maintenance, turn off the middle burner on three-burner grills while keeping end burners on low. Position your ribs on the cooler side, away from direct flames and over a drip pan. This setup guarantees even heat distribution without burning or drying your meat. Use a reliable leave-in thermometer to monitor the actual grate temperature throughout the entire cooking process rather than relying solely on the lid thermometer. Ensure your propane tank is full to maintain consistent low and slow cooking temperatures for over an hour. Before beginning your cook, conduct a soap bubble test on all gas line connections to verify there are no leaks that could affect performance or safety.
Monitor thermostat accuracy monitoring carefully by checking your external dial thermometer against a reliable leave-in meat thermometer. Slight temperature fluctuations between 250-275°F remain acceptable. Keep your lid closed and the top vent halfway open throughout cooking to maintain consistent conditions. Unlike charcoal grills where radiant heat from glowing embers is the dominant cooking method, gas grills rely more heavily on convection from hot air circulation when the lid is closed. Plan for approximately 2-3 hours of slow-cooking time to achieve perfectly tender ribs. For reference, higher-heat grilling at 450 to 500°F works well for items like seafood that require quick searing rather than slow smoking. Alternatively, you can pre-cook ribs in the oven at 275-350°F for 1.5 to 3 hours to render fat and tenderize the meat before finishing them on the grill for 5 to 25 minutes.
Rib Preparation and Seasoning
Before your ribs touch the grill grates, you’ll need to prepare them properly—and that starts with removing the membrane from the bone side. Use a paper towel to grip the membrane texture, inserting a butter knife underneath to lift it away. Pat your ribs dry, then trim excess fat and cut them to fit your grill dimensions.
Apply a thin mustard binder layer to both sides—about 2-3 tablespoons per rack—which helps your seasoning adhere without altering taste. Using proper trimming technique, generously coat all surfaces with your dry rub, applying roughly 1/4 cup per spare rib rack. For optimal results, use a large sheet of foil to ensure your ribs are tightly sealed during the cooking process. Once seasoned, wrap wood chips in foil to prepare them for smoke flavor during the grilling process. Wrap your seasoned ribs in foil and refrigerate for at least one hour, allowing the rub to penetrate the meat fully before grilling.
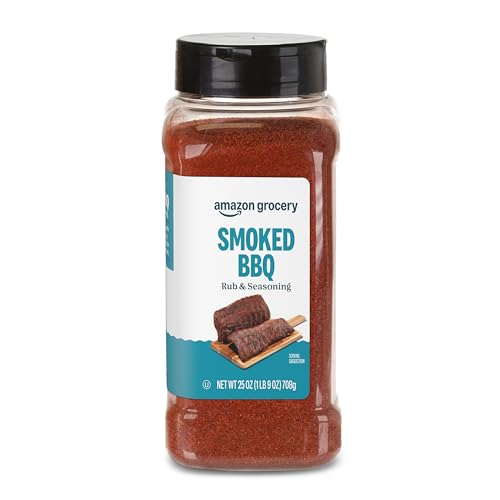
One 25 ounce container of Smoked BBQ Rub & Seasoning

Made right with real sea salt, spices and hickory smoke flavor

The flavor of Kansas City Barbeque can be a difficult balance to achieve. Weber has captured it with this delicately crafted blend of sugar, garlic and paprika
Initial Cooking Phase
Once your ribs are seasoned and refrigerated, you’ll set up your gas grill for the initial cooking phase—a low-and-slow process that builds tenderness through precise temperature control.
Maintain your grill between 250-275°F using indirect heat, positioning ribs bone-side down away from active burners. Place a leave-in thermometer for accurate monitoring, keeping the lid closed throughout this phase. For gas grills, ensure at least one burner is completely off to establish the indirect heat zone needed for even cooking.
Create your smoke profile by placing wood chips in a foil-covered pan over an active burner. Hickory or apple wood adds authentic flavor immediately upon ignition. While gas grills offer convenient temperature control, dedicated smokers like the Weber Smokey Mountain excel at maintaining consistent low heat for extended smoking sessions.
Cook for 45 minutes to 1 hour without opening the lid. You’ll make cooking time adjustments based on rib type and grill size—some methods extend to 2 hours with 45-minute rotations. Your ribs are ready for wrapping when they develop color and bend slightly when held. For optimal results with baby back ribs, aim for an internal temperature of 190°F before moving to the wrapping stage. If you’re short on time, you can achieve great results by brushing on BBQ sauce and grilling over medium heat for a quicker finish. Consider periodic spritzing during the unwrapped cooking phase to maintain moisture and enhance bark development. Keeping the lid closed as much as possible helps stabilize temperature and prevents heat fluctuations during the cooking process. Wrapping ribs in foil during a portion of the cooking helps maintain moisture and promote tenderness.
Wrapping and Tenderizing Method
Now that your ribs’ve developed color and bend slightly when held, you’ll wrap them to accelerate the tenderizing process through moisture retention and controlled steaming. Lay your seasoned ribs meat-side down on heavy-duty aluminum foil, then add a splash of apple juice or honey for flavor enhancement. Fold the lengthwise edges over your ribs and roll the remaining sides for a tight seal, ensuring foil tightness with no air pockets. Double-wrap each rack to lock in moisture and prevent juice leaks. Wrapping tightly with foil traps heat and moisture to create a steaming effect that quickly tenderizes the meat. You can also add butter and brown sugar inside the foil to keep ribs juicy and enhance flavor. Use eight 18-by-24-inch sheets of heavy-duty aluminum foil to double wrap each half rack for optimal moisture retention. For gas grills, use the foil boat method with one side rolled up. If you prefer an open-flame setup, consider using portable fire pit-grills that offer both cooking capabilities and backyard ambiance. Cook your wrapped ribs seam-side up at 325°F for 60-75 minutes, turning packets occasionally until you reach an internal temperature of 204°F. The final internal temperature should reach around 205°F to ensure the ribs are fully tender and ready to enjoy. A stainless steel tray with raised edges can be placed beneath the foil packets to catch any drippings and make cleanup easier. Place a grill mat underneath your gas grill to protect your deck from grease drips and heat damage during the cooking process.

Package Includes: One (1) Reynolds Wrap Pitmaster’s Choice Extra Thick Aluminum Foil Roll measuring 25 feet by 18 inches wide (37.5 square feet total)

Package Includes: One (1) Reynolds Wrap Heavy Duty Aluminum Foil Roll measuring 50 feet long by 12 inches wide (50 square feet total)

Includes one 125 square foot roll of heavy duty aluminum foil
Glazing and Finishing
Your ribs have now reached the ideal texture after wrapping, and they’re ready for the final flavor layer that’ll create that signature caramelized exterior. Unwrap your ribs and return them to indirect heat at 285°F. Combine two parts barbecue sauce with one part honey, then add ¼ cup apple cider vinegar for flavor balance. Simmer this mixture 10-15 minutes until sugar dissolves and consistency thickens. A proper BBQ glaze should develop a thick, sticky consistency that clings to the meat and creates that coveted lacquered finish.
Apply your glaze using a precise brushing technique, coating the entire surface—meaty side, edges, and sides—with a thin, even layer. Place ribs meatier-side down and brush every minute for 15 minutes total. For enhanced flavor, consider adding adobo seasoning to your glaze mixture for a deeper, more complex taste profile. Close the lid and maintain 250-275°F for 20-30 minutes until the sauce sets tacky. While gas grilling offers convenience, smoking ribs at low temperatures allows for deeper smoke penetration and enhanced tenderness. After glazing, allow the ribs to rest for a resting period to complete cooking and lock in tenderness. The final resting step allows juices to redistribute throughout the meat, ensuring every bite delivers maximum flavor and moisture. Remove when you’ve achieved that rich red, glossy finish. Between cookouts, maintain your gas grill’s performance by scrubbing the grates with a stiff brush after they’ve been soaked to remove built-up residue.

BRING HOME THE FLAVOR YOU LOVE: Made with honey, molasses and red chili peppers, our Honey BBQ Sauce delivers the sweet, smoky and familiar tang you love.

Stonewall Kitchen Honey Barbecue Sauce, 11 Ounces

SWEET HEAT BALANCE: Rich brown sugar and honey meet fiery habanero mash for a classic sweet-heat glaze that elevates ribs, pork, and wings.
Doneness Testing and Serving
Determining when your ribs have reached peak tenderness requires a multi-faceted approach rather than relying on a single indicator. Check internal temperature between 201°F and 210°F using a meat thermometer positioned vertically between two ribs at the rack’s center. Observe bone exposure and meat pullback—you’ll notice approximately 1/4 to 1/2 inch of exposed bone as the meat retracts. Test flexibility by lifting one end; properly cooked ribs bend nearly vertical with noticeable wobbling. Insert a toothpick between bones; it should slide through with minimal resistance. Finally, use the bite test—perfect ribs display a visible bite mark without meat falling completely from the bone. A buttery texture indicates the ribs are done and ready to serve. This combination approach guarantees accurate doneness assessment and ensures tough connective tissue has properly broken down. For smoking beef ribs, aim for an internal temperature of 208-210°F to achieve probe-tender results. Using a reliable meat thermometer is essential for consistently monitoring your ribs throughout the cooking process and achieving perfect results every time. Rest your ribs five minutes before serving.