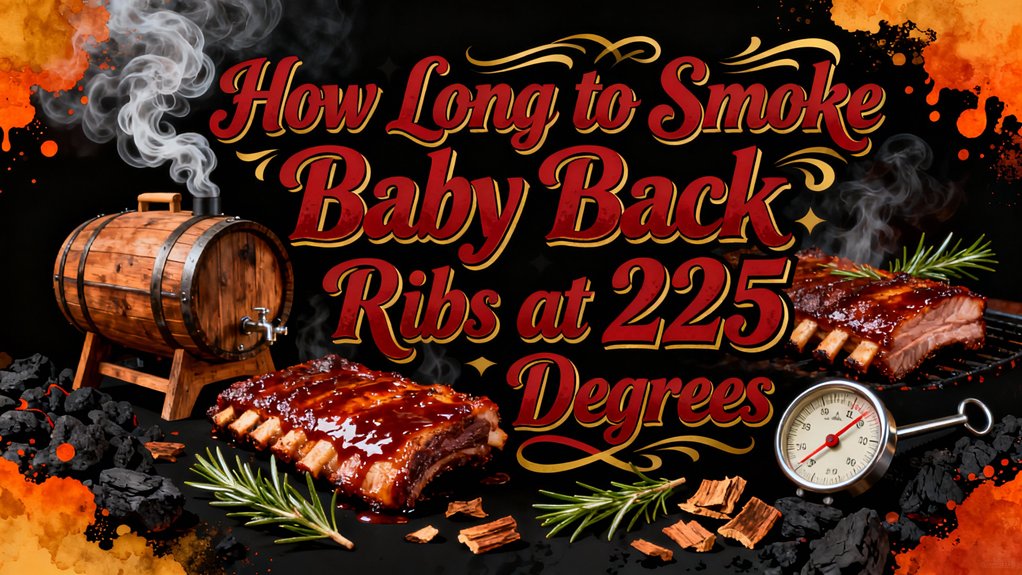
You’ll smoke baby back ribs at 225°F for 4–6 hours, with most pitmasters achieving excellent tenderness between 4.5–5 hours. Start checking at 3 hours 45 minutes to gauge progress. You can follow either the 2-2-1 method (smoke, wrap, unwrap) or the 3-2-1 method (smoke longer, then wrap and glaze). Target an internal temperature of 195°F–203°F for fall-off-the-bone results. The specific timing depends on your rib thickness and smoker consistency, so understanding these variables will help you master perfectly smoked ribs.
Basic Smoking Duration at 225°F
You’ll want to plan for 4–6 hours total smoking time at 225°F when preparing baby back ribs, though most pitmasters find that 4.5–5 hours delivers excellent tenderness.
Smoking time variations depend on several factors, including rib thickness and your specific smoker’s consistency. Thicker cuts may require pushing toward the 5.5-hour mark, while leaner racks finish closer to 4.5 hours. Start checking at 3 hours 45 minutes to gauge your ribs’ progress.
Oven temperature adjustments aren’t necessary—maintain steady indirect heat at 225°F throughout. Higher temperatures like 250°F compress your timeline to 3–5.5 hours but sacrifice bark development. The lower temperature at 225°F creates superior smoke penetration and bark formation, making it worth the extended cooking duration. Smoking at even lower temperatures like 180°F requires about 6 hours but allows the ribs to absorb maximum smoke flavor while breaking down connective tissues. The 2-2-1 method is a popular technique that breaks smoking into phases of unwrapped, foil-wrapped, and sauced cooking to achieve optimal results. Probe for tenderness every 30 minutes after the initial hours. Monitor your ribs until they reach an internal temperature near 180-200°F for optimal doneness. Adding moisture enhancers like butter and brown sugar inside the foil during the wrapped phase helps keep ribs juicy. Allow 30+ minutes of rest time wrapped in plastic after removing your ribs from the smoker to lock in moisture and maximize tenderness. Check doneness by testing how easily a probe or toothpick penetrates the meat rather than relying solely on temperature readings. Patting the ribs dry before applying your rub ensures better seasoning adhesion and promotes superior bark formation during the smoking process.

Includes one 40 ounce package of LLOYD’S Signature Smoked Baby Back Ribs in Barbecue Sauce

PREMIUM MATERIALS - Cook or grill for years to come and never worry about rust or corrosion with an ultra-durable rib rack made out of stainless steel.

Baby Back Ribs, averages 11-13 bones per slab, 2.2-pounds
The 2-2-1 Smoking Method
Precision and timing form the foundation of the 2-2-1 method, a technique that divides your smoking process into three distinct phases designed specifically for baby back ribs. You’ll smoke exposed for two hours to build smoke flavor and establish your desired flavor profile. During the middle two hours, you’ll wrap your ribs to steam and tenderize the meat. Your final hour unwrapped develops the bark while sauce sets.
Throughout this five-hour process, you’ll maintain 225°F temperature through consistent smoker maintenance. Adjust your vents carefully and avoid frequent lid-lifting that disrupts heat stability. This method produces tender, juicy ribs with a firmer bite than alternative techniques, delivering favorable results when you reach 205°F internal temperature with bones slightly pulled back from the meat. Before you begin, remove the membrane from the bone side and apply a light coat of mustard followed by Jeff’s original rub on both sides to prepare your ribs properly. You can enhance this versatile approach with a variety of wood types, such as hickory, cherry, apple, peach, or maple, to customize the flavor to your preference. If you need to cook ribs ahead of time, you can finish them on the grill for 5 to 25 minutes to reheat and caramelize the sauce while adding a pleasing grilled crust.
The 3-2-1 Smoking Method
Three distinct phases make up the 3-2-1 method, a time-based technique that originally developed for spare ribs but adapts well to baby back ribs with minor adjustments. You’ll smoke unwrapped ribs for three hours at 250°F, allowing smoke to infuse the meat while you spritz every 30 minutes. During phase two, you’ll wrap your ribs in foil with butter, brown sugar, and apple cider for two hours at 225°F, steaming them to tenderness. Finally, you’ll unwrap and glaze your ribs for one hour at 250°F, caramelizing the sauce while maintaining smoking temperature consistency. For optimal results, use Kingsford Original Charcoal Briquets as your fuel source to ensure consistent heat and authentic smoky flavor throughout the cooking process. This method produces great bark and tender texture that keeps audiences coming back for more. Proper technique application guarantees your baby backs reach ideal tenderness and flavor development throughout each phase, delivering restaurant-quality results.
Selecting the Right Wood for Smoking
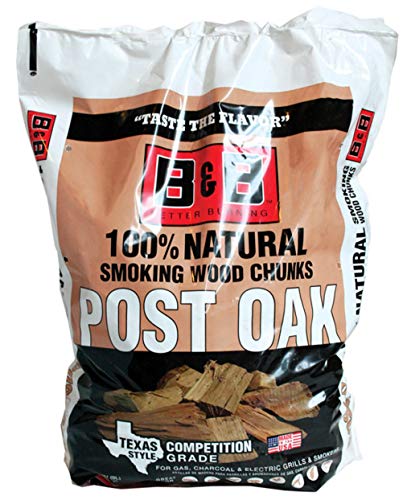
Selecting the right wood is fundamental to achieving the perfect smoke flavor for your baby back ribs, as different wood types impart distinctly different taste profiles and smoke characteristics. You’ll find that fruit woods like apple, cherry, and pecan deliver the delicate sweetness that complements pork ribs beautifully without overpowering them. For ideal wood smoking techniques, consider blending milder wood blends—try a 2:1 ratio of pecan to cherry for nuanced flavor complexity. Wood chunks are ideal for charcoal grills and smokers, as they burn long enough to impart consistent flavor throughout your smoking session. You should avoid strong hardwoods like mesquite and oak, which overwhelm baby back ribs’ natural essence. Never use softwoods such as pine or cedar, as they produce harmful toxins and bitter tastes. Mix different wood types strategically to customize your flavor intensity and create the perfect balance for your ribs. Remember that dry wood creates the best smoke, so avoid soaking your wood before use.

GREAT FLAVOR: Cherry wood chunks offer the natural flavor of cherry to add a sweet, mildly fruity, slightly nutty flavor and a deep rich color to your foods
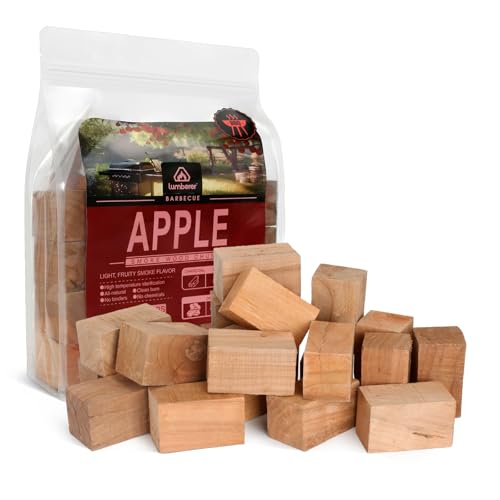
Extended Burn Time – Outperform Standard Chips Lumberer Apple Wood Chunks provide 1+ hours of steady smoke in grills and 3+ hours in smokers, ensuring uninterrupted cooking for ribs, turkey, or pork shoulder.
Preparation and Pre-Cooking Steps
Before your baby back ribs ever touch the smoker grates, you’ll need to properly prepare them to guarantee even seasoning, ideal smoke penetration, and perfectly tender results. Start by rinsing your ribs under cold water to remove packaging residue, then pat them completely dry with paper towels on both sides. Next, slide a sharp knife under the thin membrane on the bone side, grip it with a cloth for leverage, and pull it away—this exposes the meat for better rub penetration. Trim excess membrane and any large fat chunks or hanging flaps to improve uniform cooking. Consider pre-slicing ribs individually between the bones to increase surface area for rub and smoke absorption. When using pork loin back ribs, you’ll find that the membrane is already removed, so you can skip the membrane removal step and move directly to trimming. Finally, apply your dry rub liberally to all four sides, using a mixture with brown sugar, kosher salt, chili powder, and garlic powder. Apply the seasoning just before smoking for maximum flavor impact. After cooking, allow the ribs to rest after smoking for a few minutes to enhance tenderness and help the juices redistribute throughout the meat. For best results, test doneness by inserting a probe for tenderness to ensure the meat has reached the proper texture throughout. You can also check doneness by observing when the meat pulls back from the bones, which indicates the ribs have reached ideal tenderness. Monitor the internal temperature throughout the cooking process to prevent overcooking and ensure your ribs remain juicy and flavorful.

AUTHENTIC APPLE RUB: This rub is a secret blend of spices with a unique apple flavor that explodes in your mouth. Rub on any type of meat for a deliciously flavorful meal every time.

Made for ribs, pork loin, chops, and everyday BBQ

The flavor of Kansas City Barbeque can be a difficult balance to achieve. Weber has captured it with this delicately crafted blend of sugar, garlic and paprika
Doneness Indicators and Temperature Checks
Determining when your baby back ribs have reached perfect doneness requires you to move beyond guesswork and rely on both precise temperature readings and tactile cues. Insert your internal temperature probe into the thickest meat section, avoiding bones, and check multiple spots for consistent readings. Target 195°F to 203°F for fall-off-the-bone tenderness, though 180°F to 195°F produces excellent results with a slight bite retained. Maintain this temperature for at least 30 minutes.
Beyond the thermometer, observe visual doneness cues: the meat should slightly recede from bone ends without excessive pullback, and the surface should develop a rich brown crust. A bend test confirms readiness—ribs should flex easily without breaking. Use a toothpick to verify meat tenderness between bones for final confirmation. The guide emphasizes that ribs are done when the meat pulls back from the bone and cracks appear on the surface. Avoid guessing temperature, as a few degrees can make a big difference in the final texture and juiciness of your ribs. Just as with grilling sausages, using an instant-read thermometer prevents the common pitfalls of undercooking or overcooking your meat. Consider occasional spritzing during the cooking process to maintain moisture and enhance flavor development. Remember that meat that requires a slight tug to separate from the bone indicates perfectly cooked ribs rather than meat that falls off on its own. After reaching the target temperature, resting for at least 30 minutes allows the juices to redistribute throughout the meat, ensuring maximum flavor and moisture retention. Throughout the smoking process, maintain consistent temperature control to achieve the rich smoky flavor and tenderness that makes perfectly smoked ribs unforgettable.
Finishing Techniques and Flavor Enhancement
Once you’ve confirmed your ribs have reached the ideal internal temperature, you’re ready to apply finishing techniques that’ll transform your smoked ribs into a glazed masterpiece. You’ve got two primary sauce application techniques to choose from. Brushing allows precise control, letting you coat every surface evenly while building layers of flavor during the final smoking phase. Spraying, conversely, maintains moisture without foil, working well at higher temperatures like 300 degrees. For the 2-2-1 method at 225 degrees, brush generously with BBQ sauce during the final 30-minute phase, ensuring a glossy finish. Alternatively, broil briefly after unwrapping to caramelize your glaze. Each technique delivers distinct results—choose based on your desired texture and cooking duration. In the final 5 minutes of cooking, close the lid to set the sauce into a glossy glaze. After saucing, allow your ribs to rest for 15 minutes before serving to let the flavors fully develop and the exterior to set. This resting period allows juices to redistribute throughout the meat, resulting in maximum tenderness and flavor retention. If you prefer a hot and fast method, you can increase the temperature to 300°F to caramelize the sauce, which significantly reduces total cooking time compared to traditional low and slow smoking. The radiant heat from your charcoal grill will help develop a beautiful caramelized crust on the glazed surface during this high-temperature finishing phase. Modern electric smokers with Bluetooth connectivity allow you to monitor your ribs’ temperature remotely through smartphone apps, giving you the freedom to apply finishing touches at precisely the right moment without constantly checking the smoker. When you’re finished cooking and ready to clean up, remember to close all vents on your grill to safely extinguish the remaining coals.

[ FOOD GRADE MATERIALS ]: This Silicone Basting Brush Set BPA Free,Non-toxic, lead free Odourless. With Stainless Steel core inside non slip handle.100% made in premium Food Grade silicone, unlike other bristle brushes, the silicone bristles will not break or shed in your food, more healthy.
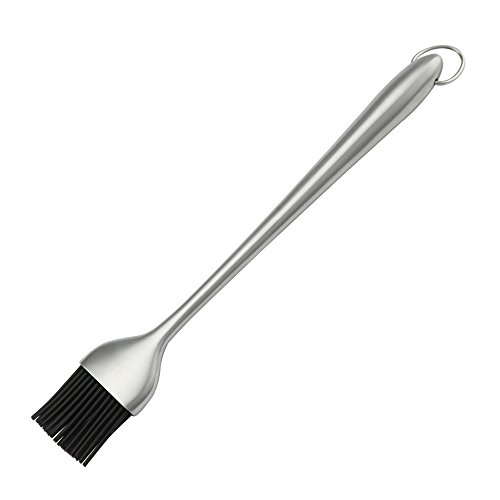
Heavy-duty BBQ Basting Brush by HQY - Silicone Bristles with 12 Inch Stainless Steel Handle - Make Grilling Easy - 5 Year Guarantee

✔ With 4 Extra Replacement Heads : This BBQ mop brushes for sauce allows you to keep your barbecue moist, infuse it with flavor while you are cooking or add sauce. It can pick up more thin sauces than silicone pastry brush. Best mop to add sauce, marinate, oil, tenderizer grill or smoke BBQ ribs, brisket, chicken and pork.
Achieving Perfect Ribs Every Time
Consistency in smoking ribs hinges on mastering three foundational elements: proper preparation, precise temperature control, and accurate doneness testing. You’ll achieve superior results by maintaining your smoking temperatures at 225°F, which guarantees even cooking throughout. Remove the silver skin membrane beforehand, then apply your dry rub evenly on both sides, allowing thirty minutes for it to set. For optimal flavor, consider coating the ribs with yellow mustard before applying the rub to enhance the seasoning absorption.
Your cooking times typically range from four to six hours unwrapped, with five hours being standard for the toothpick test. Begin probing every thirty minutes after the four-hour mark to verify tenderness. You’ll know ribs are finished when a toothpick slides effortlessly between the bones and your internal temperature reaches 205°F. For even more tender results, consider using the 2-2-1 process which wraps the ribs halfway through smoking. Some pitmasters finish with a high-heat step around 400°F for 10 to 15 minutes to develop a crispy exterior and caramelized bark. Selecting natural hardwood charcoal ensures clean burns with minimal ash production and subtle smokiness that won’t overpower your meat. After removing the ribs from heat, allow them to rest before serving to redistribute the juices and ensure maximum flavor. For offset smokers requiring extended burns, choose briquettes over lump charcoal to maintain consistent medium heat throughout your low-and-slow cooking session. This methodical approach eliminates guesswork, delivering consistently perfect ribs.

Lady luck is on your side so go ahead and roll the dice. You’ve hit the luck of the draw with our Carolina Gold BBQ Rub. Use this snappy blend of tangy honey mustard and you'll have a full house of hungry friends.

VERSATILE SEASONING: All-purpose honey mustard rub perfect for enhancing meats, poultry, vegetables, and other dishes with a balanced sweet and tangy flavor
1- 17.5 ounce Shaker