You’ll preheat your oven to 425°F and line a baking sheet with parchment paper. Form lean ground beef (90/10 ratio) into ½-inch patties with a thumb indent, spacing them 2 inches apart on an elevated cooling rack. Season generously with salt, pepper, garlic powder, and onion powder. Bake for 15 minutes until the internal temperature reaches 160°F using an instant-read thermometer. The technique’s success hinges on proper airflow and temperature management, which we’ll explore further for restaurant-quality results.
Preparing Your Baking Setup
To achieve evenly cooked oven burgers, you’ll need to properly prepare your baking equipment before forming your patties. Begin by preheating your oven to one of three oven temperature settings: 375, 400, or 425 degrees Fahrenheit. For medium cooking, maintain temperatures within the 375 to 425-degree range. If using multiple racks, position them in the upper and lower thirds at 400 degrees.
Next, select your pan lining types carefully. Line a rimmed baking sheet with either parchment paper or aluminum foil to contain juices and simplify cleanup. Alternatively, place a cooling rack directly onto a cookie sheet to elevate your patties, promoting air circulation underneath and preventing them from sitting in grease. For larger batches, use two half sheet pans lined with parchment paper. Spray your prepared surface with non-stick cooking spray for additional insurance against sticking, ensuring ideal results. If you frequently prepare burgers or other foods that might stick, consider investing in non-stick grill mats that can withstand high oven temperatures and simplify cleanup even further. Spacing your burgers at least 2 inches apart on the baking sheet allows for proper air circulation and even browning during the baking process. To keep your burgers extra juicy, try placing an ice cube in the center of each raw patty before baking, which will slowly melt and release moisture into the meat as it cooks. Before placing your patties in the oven, season them simply with salt and pepper to enhance the natural beef flavor without overpowering it. Much like grilling fresh oysters requires careful attention to heat and timing, oven-baked burgers benefit from precise temperature control to achieve that perfect char and juicy interior. These heat-resistant mats also protect your oven racks from grease drips and are easy to clean with simple soap and water after use.
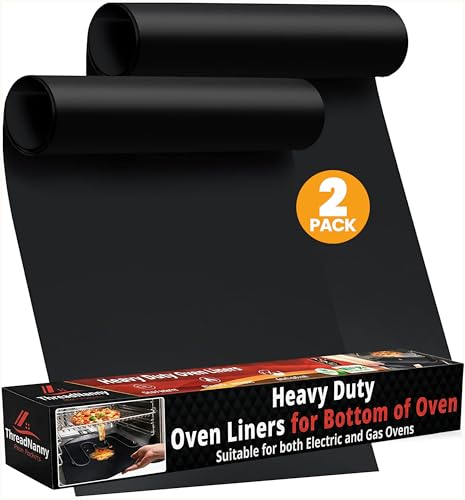
𝗞𝗘𝗘𝗣 𝗬𝗢𝗨𝗥 𝗢𝗩𝗘𝗡 𝗖𝗟𝗘𝗔𝗡: Must-have oven accessories! This oven protector mat replaces messy oven drip pans. Use as an oven matt liner or toaster oven liners to catch spills and messes. Wipe clean in seconds for a sparkling oven!

KEEP YOUR OVEN CLEAN: Protect your oven floor against those annoying spills on the bottom of your electric or gas oven. Our oven liners are built to keep your oven in pristine condition and protect it against spills, drips, gunk and food getting stuck on the bottom of your oven
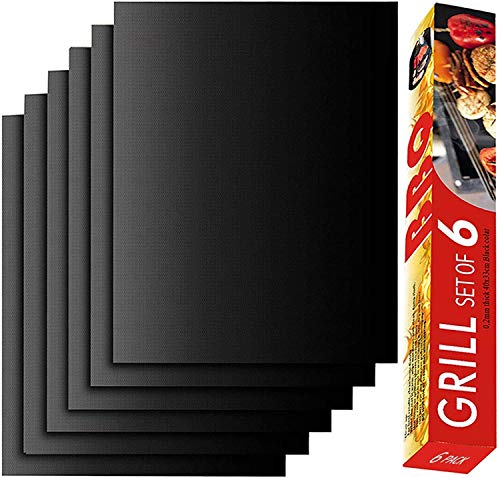
1.NO BETTER CHOICE - Thicker does not mean better. Our grill mat is thin enough to leave grill marks and flavor intact,and thick enough to provide ultimate heat resistance and durability.6 pack of grill mats can meet the needs of the dinner from time to time; when they are spare, you can cut them to any size or shape to fit any need. Also doubles as a bake mat
Seasoning and Flavoring Your Beef
With your baking setup ready, you’ll now focus on building flavor into your beef patties before they hit the oven. Start with a lean ground beef blend—90/10 or 93/7 fat ratios work best for oven baking, allowing proper seasoning absorption without excess moisture loss.
You’ll create depth through layered flavoring. Mix salt and pepper generously into your beef, then incorporate garlic powder and onion powder for foundational aromatics. Consider custom spice blends combining granulated garlic, onion flakes, paprika, and cayenne pepper for complexity. For best results, use fine grain Himalayan salt and peppercorn medley to season both sides generously before placing your patties in the baking dish. The natural minerals in Himalayan salt, including potassium, magnesium, iron, and calcium, add superior flavor to your beef patties. Seasoning before cooking is essential for consistent, flavorful results that penetrate throughout the meat.
Liquid additives guarantee even distribution: blend in Worcestershire sauce, yellow mustard, or TABASCO for your desired heat level. Gently combine all seasonings with your hands until just incorporated—avoid overmixing, which creates tough, dry patties. Fresh herbs and spice blends elevate your burgers beyond basic seasoning. While grilling enthusiasts might reach for lump charcoal for its high heat and natural flavor when searing burgers outdoors, oven baking provides consistent results indoors. Shape your seasoned beef into patties about 3/4-inch thick to ensure even cooking throughout. Light seasoning with kosher salt prevents the burgers from becoming overly salty during the baking process. To verify your burgers reach a safe internal temperature of 160°F, use an instant-read thermometer for quick and accurate results.
Forming the Perfect Patties
Now that you’ve layered in your seasonings, proper patty formation becomes essential—this step determines whether your burgers’ll cook evenly and maintain their juiciness in the oven.
Start by loosening your ground beef in a large bowl, then gently form loose balls without tight packing. Avoid overmixing, which toughens the meat. Drop each ball from 10-12 inches onto your work surface twice to further loosen the structure. Using 80/20 ground beef will give you the optimal fat-to-lean ratio for juicy, flavorful burgers.
For uniform thickness, shape patties to 1/2 inch overall, with slightly thicker 3/4-inch edges and a 1/2-inch center. Press a light thumb-indent into the center to prevent doming during cooking. Use a patty press lined with plastic wrap for consistent results. A hamburger press can help you achieve the ideal diameter and thickness for evenly cooked patties. While grilling traditionally requires preheating to about 375°F, oven cooking offers similar temperature control for achieving perfectly cooked burgers.
Finally, refrigerate your formed patties for at least one hour before cooking. This chilling period helps them hold together during oven cooking, and dampen hands with water when reshaping if needed to prevent sticking. Just as you shouldn’t press down on patties while grilling to retain juices, avoid compressing them when transferring to your baking sheet. Consider adding Worcestershire sauce to your patty mixture to boost moisture and enhance the savory flavor profile. Proper grease management during oven cooking will also help maintain the quality of your burgers and keep your kitchen clean.

One 16 ounce package of 100% Pure Ground Beef, 80% Lean/20% Fat

Meets standards for animal welfare, feed, and more, so you can know about what you're buying (and eating)

Three individually sealed 16 ounce packs of 100% Pure Ground Beef, 80% Lean/20% Fat
Baking Your Burgers to Doneness
Your oven’s temperature settings will make or break your burger’s final result. You’ll achieve optimal ideal doneness by selecting the right temperature and time combination for your preference.
For medium burgers, bake at 425°F for approximately 15 minutes, targeting 155-160°F internal temperature. If you prefer medium well, maintain 425°F for 12-15 minutes until reaching 155°F. Well-done burgers require 20-25 minutes at 375°F, reaching 160°F or higher.
Use an instant-read thermometer for checking internal temperature—this eliminates guesswork and confirms consistency. Flip your burgers halfway through cooking for even heat distribution on both sides.
Account for carryover cooking by removing burgers slightly before reaching your target temperature. After baking, rest your burgers for five minutes to allow the cooking process to finish. Just as internal temperature is the most reliable indicator for doneness with steaks, the same principle applies to burgers rather than relying solely on timing. Similar to grilling techniques, residual heat continues to cook your burger during the resting period, ensuring optimal juiciness and doneness. A cast iron skillet retains heat remarkably well and creates a signature sear on the patty exterior while maintaining even cooking throughout the oven phase. Insert your meat thermometer in the thickest part of the burger to get an accurate reading and avoid undercooking or overcooking. Preheating ensures your cooking surface reaches the necessary temperature before you begin, whether you’re using an oven or working with a two-zone heat setup on outdoor equipment. This technique allows adjusting cooking time based on your oven’s performance and preferred doneness level. While oven baking offers convenience, smoking burgers at moderate temperature delivers enhanced flavor while maintaining juiciness through a slower cooking process.
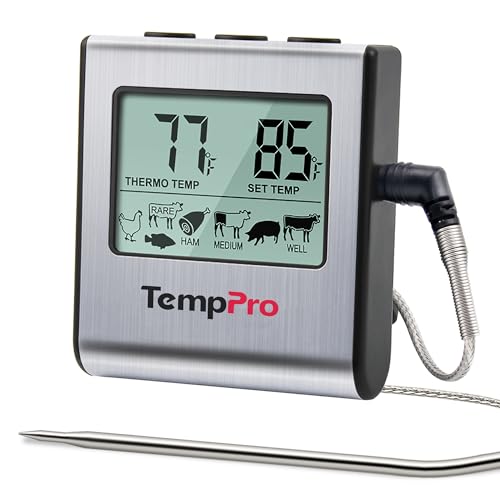
Cook mode with USDA preset temperature settings: TempPro cooking thermometer ideal for meat, oven, smoker or stove top; Programmable alert with preset temperatures for specific foods recommended by USDA; All of the preset temps can be reset to your desired tastes

STAYS IN THE MEAT WHILE IT COOKS, NO BATTERY EVER: Push the 4.5-inch stainless steel probe into the roast, close the oven door and read the 2.5-inch dial through the glass. Bimetal mechanics: nothing to charge, nothing to replace, nothing to set up.

Smart Display Base with Control: The ThermoMaven G1 wireless meat thermometer features a versatile smart display base that offers real-time temperature readings and allows you to set temperatures directly on the device—no app required. With our user-friendly one-click setup, you can connect the probe, pair it with the base, and start cooking in seconds—no complicated setup needed!
Melting Cheese and Adding Toppings
Cheese transforms a good burger into an exceptional one, but you’ll need the right technique to achieve perfect melting. For oven cooking, add cheese during the final 1-2 minutes of baking at 350-400°F to guarantee even melting without overcooking your patty. Pre-slice cheese thinly to accelerate melt time, and monitor for a bubbly consistency. Bobby Flay’s proven method involves using steam to melt cheese effectively, a technique that works equally well in oven applications by trapping moisture around the patty.
Your cheese selection dramatically impacts results. Avoid aged, crumbly varieties that resist melting. Instead, opt for high-moisture cheeses like American, fontina, or Taleggio. American cheese melts quickest due to its emulsifiers, while fontina provides a creamy texture without separation. Cheese with higher galactose content caramelizes more effectively when exposed to direct heat, creating that nutty depth that complements the beef. Similar to achieving even browning on grilled bread, cheese benefits from higher heat tolerance to prevent burning while developing optimal color and texture. For enhanced flavor depth, consider brushing your burger buns with extra virgin olive oil before toasting, which adds a heart-healthy, nuttier taste compared to traditional butter. While cheese provides important nutrients like protein and calcium, using lower-fat cheese varieties can help reduce saturated fat content if you’re watching your nutritional intake.
Once cheese reaches desired meltedness, add your toppings strategically. Layer lettuce, tomato, and onions after removing burgers from heat to prevent wilting and maintain textural contrast. For extra convenience, you can briefly toast your buns in the oven alongside the burgers, reaching an internal temperature of 160°F to ensure food safety while achieving that perfectly crispy exterior. If you frequently cook burgers indoors and want to protect your cooking surfaces, consider investing in heat-resistant mats designed to catch grease splatters and shield countertops from high temperatures. This sequencing ensures optimal flavor and texture in every bite.
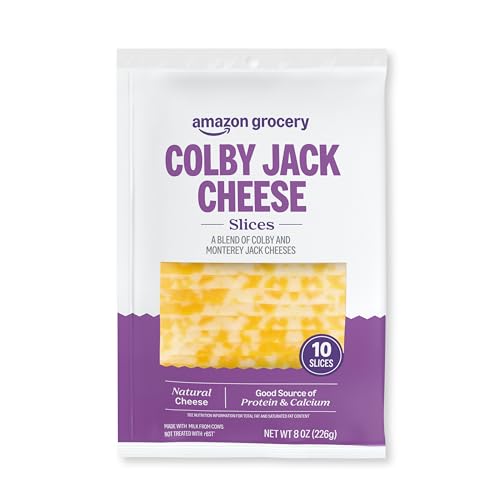
One 8-ounce bag containing 10 slices of Colby Jack Cheese

One 8-ounce bag containing 10 slices of Pepper Jack Cheese

One 8-ounce bag containing 10 slices of Sliced Sharp Cheddar
Assembling and Serving Your Burgers
With your burgers topped and cheese perfectly melted, you’re ready to plate and present them in a way that’ll impress your guests. Arrange your burgers at the center of serving boards, surrounding them with strategically placed toppings in individual bowls and fanned vegetables. This setup enables tableside assembly, allowing guests to customize their burgers according to preference. Layer ingredients thoughtfully—stack the patty with fresh vegetables and toppings at varying heights for visual interest. Stagger elements slightly to showcase distinct colors and textures without overcrowding. Incorporate edible flowers or microgreens as garnishes to add sophistication and elevate the overall visual presentation of your burger display. Consider setting out small plates or trays for guests to build their own burgers, making the serving experience more interactive and accessible. Pair your burgers with sides like fries in metal cups or baskets lined with paper. For added flair, include lemon wedges alongside your burgers to provide a bright, zesty accent that guests can squeeze over their patties or sides. Use plating creativity by selecting appropriate serving vessels—faux oak boards for warmth or aluminum trays for industrial aesthetics. If you’re looking to enhance your burger-making setup, consider investing in quality burger presses that create uniform patties for consistent cooking results. For those who frequently cook burgers indoors and want a versatile cooking surface beyond the oven, an electric flat top grill offers even heating and easier cleanup compared to traditional grills. Slicing your burgers diagonally before serving creates an appealing presentation and makes them easier to handle. Provide abundant utensils and label uncommon toppings for clarity and dietary awareness.

MULTIPURPOSE : These beautiful handcrafted bowls can be used for serving a variety of food items such as condiments, nuts, dips, sauce, salsa. Use it as a chip and dip bowl for snacks while lounging/binge-watching or as charcuterie cups for cheese board.

【Multi-Functional Divided Serving Tray】Features innovative 6-compartment design perfect for separating chips & dips, fresh veggies, and party snacks. Crafted with natural bamboo base and oven-safe ceramic bowls (microwave/dishwasher friendly) - ideal for fruit platters, taco bars, and effortless entertaining essentials.

Elegant Fusion of Acacia Wood & Natural Slate - Experience the perfect blend of rustic charm and modern elegance. This serving board combines durable, beautiful acacia wood with a unique piece of natural slate, creating a stunning centerpiece for any table setting.