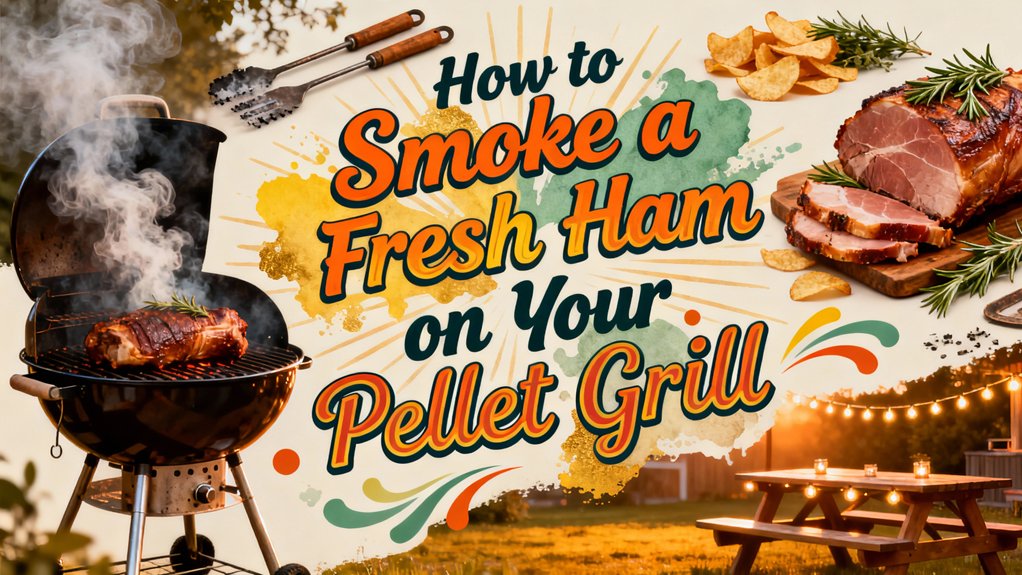
You’ll start by brining your 8-14 pound bone-in ham for 7-10 days, then apply mustard, fresh rosemary paste, and Plowboys BBQ rub. Set your pellet grill to 250-275°F and smoke until the ham reaches 190-200°F internal temperature, rotating every 25°F and basting hourly. Let it rest 20-30 minutes before slicing. The layered preparation and precise temperature management create remarkably tender results—discover the specific techniques that make the difference.
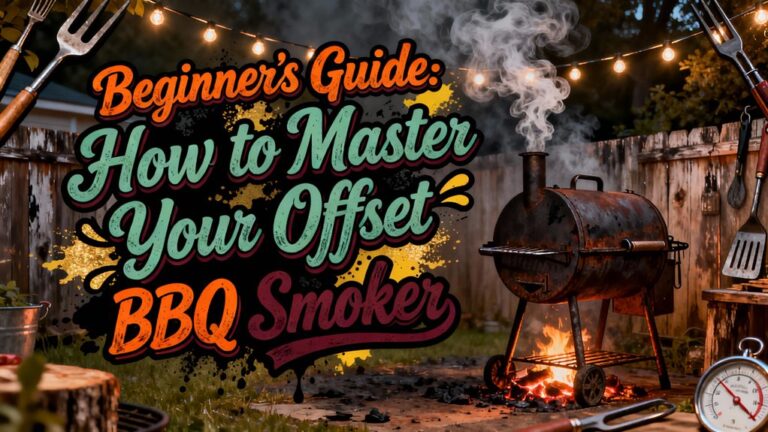
Preparing Your Fresh Ham
Before you fire up your pellet grill, you’ll want to start with a bone-in fresh ham from the shank end—it’s the superior choice for both flavor and texture. Aim for an 8-14 pound ham, which smokes evenly on most pellet grills.
Next, execute precise fat trimming techniques by removing the skin and reducing the fat layer to 1/4 to 1/2 inch thickness. Use a combination of boning and chef’s knives to access difficult areas without damaging the meat’s structural integrity.
This remaining fat layer achieves proper insulation, protecting your ham from direct heat during the extended smoking process. Score the fat in a cross-hatch pattern at 1/4 inch depth, spacing cuts 1-1.5 inches apart. This scoring creates texture for ideal rub penetration while maintaining the meat’s overall shape. During smoking, your ham may experience a temperature stall where cooking slows due to moisture evaporation, which is a normal part of the low-and-slow process. Like brisket, ham benefits from low and slow cooking to break down connective tissues effectively, with the internal temperature of 190-200°F indicating when your ham has reached optimal tenderness. Allow adequate rest time after smoking to let the juices redistribute throughout the meat. Consider using various woods for smoke flavor to customize the taste profile of your finished ham. The spices balanced with maple syrup will enhance the ham’s natural flavors during smoking. Consider combining salt, brown sugar, and herbs into a seasoning mixture to enhance the ham’s natural flavors before smoking.

Virginia's Finest salt cured Virginia Country Ham. The best ham you will ever taste. Compare to Smithfield or Edwards brands. Great Every Day Ham & Wonderful Gift for All Occasions!

100% PURE HAM BONE: No artificial colors and no added ingredients, just pure, natural, and healthy ham bone.

RICH, SMOKED FLAVOR - 9 LB BONE-IN HALF HAM: Enjoy our premium Honey Baked Ham Bone-In Half, spiral-sliced right to the bone for effortless serving. Slowly smoked for up to 24 hours over hardwood chips, this cut of pork is finished with our iconic sweet and crunchy glaze, delivering mouthwatering flavor that makes every gathering memorable.
Brining and Curing
Once you’ve scored and trimmed your ham to perfection, you’ll want to cure it with a wet brine that’ll penetrate deep into the meat and develop that signature pink color and complex flavor. Dissolve 2¼ cups kosher salt, 2 cups brown sugar, ¼ cup molasses, and 1.5 tsp pink curing salt in 2 quarts boiling water with pickling spice. Cool to 36-38°F before injecting 4 cups per ham, targeting areas near the bone. Reinject on day 3-4 to prevent gray spots—a common curing process challenge. Refrigerate fully submerged for 7-10 days. Account for brine strength adjustments: aim for 10% salt concentration per liter. For optimal results, ensure the pork roast is completely submerged in the brine by using an upside-down plate as a weight. To protect your deck and catch any drippings during the smoking process, place your pellet grill on a heat-resistant grill mat or consider using a grease catcher designed for your specific grill model. The 20-pound tank is the standard choice for most backyard grilling setups due to its compatibility with grill compartments and portability for smoking sessions. To monitor your smoking progress and prevent running out of fuel mid-cook, consider using a propane tank gauge to track your pellet supply levels. For extended smoking sessions, a standard 20 lb tank with an appropriate adapter will provide significantly longer runtime than smaller disposable cylinders. Rinse thoroughly afterward, then pat dry before smoking for ideal results. The curing process typically requires 8-10 days of refrigeration to fully develop the ham’s flavor and ensure proper meat preservation.
Applying the Rub and Seasoning
After you’ve rinsed and patted your ham completely dry, you’re ready to build layers of flavor that’ll complement the subtle smoke and brined meat beneath. Start by slathering a mustard base—yellow or Dijon—across the entire surface. This binder maximizes rub absorption while promoting smoke circulation.
Next, apply your custom paste: smash fresh rosemary, garlic, and kosher salt into a cohesive mixture using a knife’s flat side. Slather this aggressively over all sides. Then, apply Plowboys BBQ Yardbird Rub generously and let it sit five minutes until visibly wet.
Finally, dust your blending dry spices mixture—paprika, sugar, garlic powder, onion powder, dry mustard, and black pepper—across the entire ham. Season generously and coat evenly. For best results, baste the ham with mop sauce every 45 minutes to 1 hour during smoking to keep the surface moist and flavorful. Allow the ham to sit at room temperature for 30 minutes after seasoning to let the rub fully penetrate the meat. Pellet grills offer excellent even heat distribution that helps maintain consistent smoking temperatures throughout the cooking process. You’re now ready to place the ham on your pellet grill’s cooling rack at 250-275°F.

CONVENIENT SEASONING: This bold blend of ingredients includes mustard seed, molasses, and hickory smoke for cooking up “love and happiness” at the grill.

Lady luck is on your side so go ahead and roll the dice. You’ve hit the luck of the draw with our Carolina Gold BBQ Rub. Use this snappy blend of tangy honey mustard and you'll have a full house of hungry friends.
Chicago-inspired flavor: A honey mustard BBQ rub influenced by Bucktown’s Polish roots and Chicago’s love of mustard.
Setting Up Your Pellet Grill
Getting your pellet grill properly assembled and positioned is essential to achieving consistent results on your fresh ham. Position your grill at least 6 feet from walls, trees, and structures to certify proper airflow and heat dissipation. Account for your power supply requirements by locating the grill near an accessible electrical outlet, as pellet grills demand consistent power.
Before smoking, run your grill at 400°F for one hour to burn off manufacturing residues. Season the grates with high smoke point oil. Employ effective smoke management techniques by opening the lid during initial white smoke phases to vent the chamber appropriately. Quality compressed wood pellets from reputable manufacturers will burn hot and efficiently while adding a clean smoke flavor to your ham. Different hardwood pellet flavors like hickory and apple can enhance your ham’s taste profile depending on your preferences. When selecting your smoker, look for models with WiFi-enabled controllers that provide precise temperature and smoke control. Download the Traeger app to monitor your grill’s performance and receive WiFire connectivity notifications throughout your cook. For newer Traeger models, familiarize yourself with the touchscreen WiFIRE controller to ensure smooth operation during your cook. Consider choosing a grill with consistent temperature control to maintain reliable heat throughout your smoking process.
Check your hopper for sufficient pellets and verify the pellet sensor calibration. Models like the Rec Tec Flagship 1100 offer precise temperature control that maintains stable cooking conditions throughout your smoke session. Clean the burn pot thoroughly to optimize pellet combustion. These preparatory steps guarantee your grill operates at peak performance for your ham.

Replaces 3 speed smoker control, compatible with Traeger wood pellet grill models (except PTG)
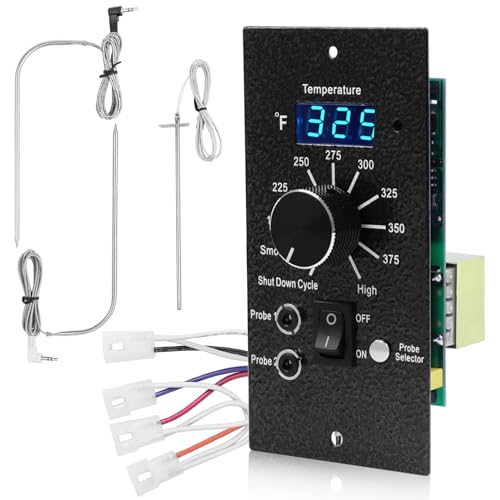
【COMPATIBILITY】: This Traeger Digital Controller kit replacement part compatible with most Traeger Wood Pellet Grills (except PTG), ideal replacement for Traeger Controller BAC365.
High mode can be used to generate maximum heat. Easy to use, can help control temperature, high temperature resistance, long service life.
Smoking, Glazing, and Resting
Your grill’s now ready, and you can begin the smoking process that’ll transform your fresh ham into a succulent centerpiece. Maintain your pellet grill at 250-275ºF, inserting a temperature probe into the deepest meat section for precise internal temperature monitoring. Smoke approximately 7 hours for a 14 lb ham until reaching 160ºF, then begin periodic glaze reapplication every 30-45 minutes.
Remove the netting before brushing glaze on all sides with a silicone brush. Each coat builds flavor layers and enhances penetration. Once your ham reaches 175ºF internally, pull it from the grill. For optimal results, rotate your ham 180 degrees every 25°F to ensure even cooking throughout the smoking process. Different wood chip choices will impart distinct smoke flavors that complement your ham’s natural taste. Careful temperature control throughout the smoking process is essential for achieving consistent results. The reduced flare-up risks from pellet grills make the cooking process safer and more manageable compared to traditional charcoal setups. Consider adding a water pan beneath the ham to maintain moisture levels and create a more humid cooking environment. Using a reliable meat thermometer ensures you’re monitoring the ham’s doneness accurately rather than relying solely on cooking time.
Rest your ham 20-30 minutes under light foil tenting on a cutting board. This resting period allows a 3-5ºF temperature rise while preventing moisture loss and improving slicing texture. The brine helps retain moisture throughout the smoking process, ensuring your ham stays juicy from start to finish.