
You’ll select plump, yellow kernels with uniform fill, then preheat your grill to 450°F. For direct grilling, you’ll place peeled corn on hot grates and rotate every 2-3 minutes for 10-12 minutes total. You’ll brush with olive oil, season with salt and pepper, and aim for an internal temperature of 150-170°F. You can also grill in husks or wrap in foil with butter for varied results. There’s considerably more technique to master for consistently exceptional corn.
Selecting and Preparing Your Corn
Because fresh corn’s quality directly impacts grilling results, you’ll want to inspect kernels carefully before purchasing. Look for plump yellow kernels indicating optimal/ideal sweetness and juiciness. Avoid shriveled or dry kernels signaling over-maturity or poor quality.
When inspecting kernel maturity, guarantee/assure uniform fill from end to end, confirming peak ripeness. Check for cob imperfections by examining tight husks without tears or holes that compromise internal moisture retention.
For preparation, remove silk threads while keeping husks intact for protection during grilling. Twist husks at the end after cleaning for secure wrapping. De-husked varieties require light brushing with olive oil for Italian-style preparation. Husk on protects kernels and retains moisture throughout the cooking process. Season with salt and pepper immediately before grilling to enhance flavor development on the hot fire. Soaking corn in cold salted water for 10 to 20 minutes before grilling prevents burning and aids the steaming process. To protect your deck from grease splatters while grilling, consider using a grill mat designed for decks. Without husks, corn cooks faster, so careful attention to timing ensures the kernels remain tender while achieving desirable char. Place corn perpendicular to the grill grates to achieve even grill marks and optimal heat distribution. For the best results, ensure your grill has adequate heat retention capabilities similar to those found in premium outdoor kitchen models. Many global grilling traditions incorporate complementary butter or sauce mixtures to elevate the natural corn flavor, from Thai sriracha butter to Chilean avocado crema.

【Large Size】 60*40 inches grill mat, protect the area under the grill from high temperature and fire, and collect any splatter and food stains, keep the environment hygienic, reduce the burden of cleaning, and enjoy the outdoor time to the fullest.

Perfect Choice for Outdoor Grilling - This fireproof under grill mat provides all-around protection for your grilling area. While barbecuing, it not only catches splattered grease and sauces but also effectively prevents high-temperature embers from damaging your deck and patio, keeping your outdoor environment clean and safe from messes and grease stains, significantly reducing cleanup time after your barbecue.

Large Size for Total Coverage: Massive 60"x40" coverage creates a total protection zone under your grill! Our grill mats for outdoor grill effectively shield your patio, deck, or lawn from scorching heat, accidental sparks, and stubborn grease stains. It reliably catches all food debris and grease drips, keeping your ground clean and tidy throughout the grilling process
Preheating Your Grill for Success
After you’ve selected and prepared your corn, you’ll need to get your grill to the right temperature before cooking begins. Ignite all burners on your gas grill and close the lid to build consistent temperature control. Allow the grill to fully preheat for several minutes until it reaches 450°F, verifying with your thermometer for precision.
This evenly heated cooking surface guarantees your corn cooks uniformly without burning. Closing the lid during preheating traps heat effectively, bringing your grill to medium-high temperature in minutes. Adjust flames post-ignition to maintain stable conditions throughout the preheating phase. Before preheating, consider removing and cleaning burners to prevent grease buildup that can affect heat distribution. For cast iron grates, apply a thin layer of oil to the grates during preheating to maintain the protective seasoning. No need to soak your corn before placing it on the grates, as soaking does not produce noticeable differences in results. For optimal results, ensure grill grates are clean before preheating to prevent debris from affecting cooking. A deep cleaning before the season] removes carbon buildup and residue that can impact heat distribution and cooking quality. After cooking, maintain your grill by emptying and wiping the drip pan to prevent grease accumulation and pest attraction.
Proper preheating synchronizes with your preparation timing. Once your grill reaches the target temperature, you’re ready to place your corn on the grates using tongs for safe handling.
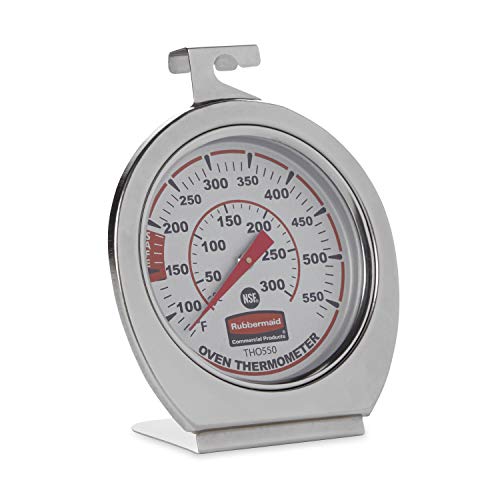
FOOD SAFETY: Thermometer displays true oven temperature instantly to ensure safe food preparation

BBQ / Grill pit thermometer, safe and environmentally friendly.

It fits Genesis 300 series (2007-2016), Summit (2005-2016) models and Genesis II series (2017 and newer). Replacement for Weber 67088 / 67731 grill lid thermometer.
The Direct Grilling Method
Once your grill’s reached ideal temperature, you’re ready to move into the direct grilling method—the most straightforward approach for achieving perfectly charred sweet corn.
Place your peeled corn directly on hot grates positioned over coals. This placement maximizes the searing process, allowing kernels to develop those desirable charred bits. Your turning technique proves critical here: rotate the cobs every 2-3 minutes using tongs, ensuring uniform char across all sides. Keep the grill lid open throughout this direct grilling phase.
Monitor the searing process carefully. You’re targeting controlled charring without shriveling, so move corn to the cooler side if excessive char develops. Using a very hot BBQ allows for maximum charred bits in the fastest time for juiciest corn. For best results, listen for sizzling butter and watch for light browning as indicators of doneness. The entire direct grilling method takes 10-12 minutes. This controlled heat exposure infuses excellent flavor while maintaining kernel tenderness.

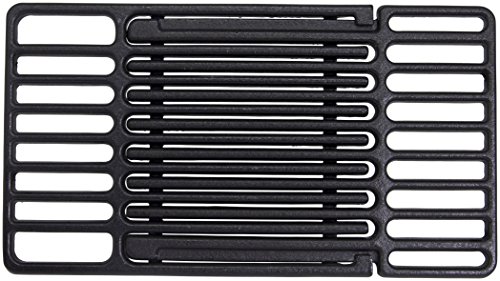
[Superior Material] - HaSteeL round grill grates are made of high quality iron steel, Chrome-plated surface improves its oxidation, rust, heat and corrosion resistance, No harmful substances or coating falling into your food, Durable for years to come
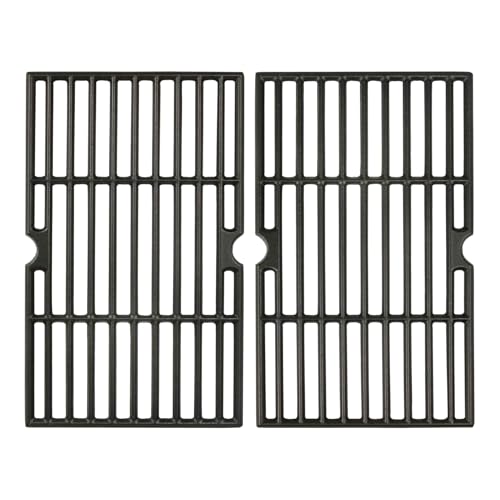
Perfect Fit : Engineered to seamlessly fit the chargriller 1624 parts replacement, char griller grates 1515 1224 22424 replacement parts, chargriller E1515 1616 72424 grates replacement, these cast iron grates provide a precise and snug fit, allowing for easy installation and enhancing the grilling experience without any modifications required.
Porcelain coated Cast iron
Grilling Corn in the Husks
While the direct method delivers exceptional char, grilling corn in the husks offers you a gentler alternative that steams the kernels while protecting them from excessive heat. After soaking your corn for 30-60 minutes, place it on a preheated medium-heat grill away from direct flame. This positioning maximizes heat retention while preserving moisture levels throughout cooking.
Grill covered for 5-10 minutes, turning occasionally until the husk dries with light marks. You’re fundamentally creating a natural steaming chamber—the soaked husks trap steam around the kernels, ensuring even cooking without charring. The steamed corn silks and husk will slide right off the corn once it cools. For best results, grill the corn for 30-40 minutes total, turning every 10 minutes to ensure even cooking. The kernels are done when they become plump and tender, indicating that the corn has reached optimal doneness. Like grilled sweet potatoes, this method produces smoky flavor that enhances the natural sweetness of the corn. Similar to grilling carrots, you can enhance the flavor by tossing with olive oil and seasonings before grilling.
Check doneness by pulling back the husk to reveal bright yellow kernels cooked through. Remove carefully, let cool briefly, then strip away husks and remaining silk. After unwrapping, the corn is rested for a few minutes to allow the residual steam to finish the cooking process. This foil-free method ensures that the corn retains its moisture and flavor while cooking. Serve immediately with butter and salt for ideal flavor and texture.
The Foil-Wrapped Approach
The foil-wrapped approach gives you complete control over moisture and seasoning while shielding corn from direct heat. You’ll position each ear diagonally on a 12×12-inch foil sheet, then apply one tablespoon of softened butter per ear. Sprinkle salt, pepper, and optional seasonings like garlic powder across the surface.
For ideal foil seal integrity, roll the foil loosely around the corn first, then tightly crimp all sides and ends to create an airtight package. This butter retention technique prevents leakage while trapping steam for even cooking. Different seasonings can be easily identified with permanent marker if you’re grilling multiple seasoned varieties at once. Consider preparing foil packets in advance to streamline your grilling process and allow for consistent cooking results. The foil packet method also allows the kernels to steam and char slightly for tender yet crisp corn with infused seasonings. For enhanced flavor, consider blending your butter with garlic and complementary spices before application.
Place wrapped ears directly on grill grates at 350-400 degrees Fahrenheit. This foil-wrapping technique retains moisture and simplifies cleanup while allowing simultaneous grilling alongside other dishes. Like grilling other vegetables, the key is to avoid overcooking to prevent mushy texture while ensuring the corn is tender and slightly charred. Grill for 15-20 minutes, rotating every 5-6 minutes to ensure even cooking. Pierce with a fork to verify tenderness. The kernels should yield easily when done.

POP-UP DISPENSER: Pre-cut aluminum foil sheets dispense one at a time from the counter-friendly box, so cooks can grab a sheet fast during grilling, prep, or cleanup without pulling, measuring, cutting, or tearing from a roll.

Grilling Bags - Packaging May Vary Total 16 Bags.

Pre-Cut Foil Sheets—This package contains five boxes of 50 Reynolds Wrap Aluminum Foil sheets, measuring 14 x 10.25 inches each. 250 sheets total.
Timing and Temperature Guide
Getting the timing and temperature right’ll make the difference between juicy, perfectly cooked corn and dry, overcooked kernels.
You’ll find recommended heat levels range from 350°F to 500°F depending on your method. For direct heat grilling, maintain 450-500°F and rotate every 3-4 minutes over 10-12 minutes. The medium-high approach uses 375-400°F for 10-15 minutes, offering more control. If you prefer gentler cooking, the moderate heat method operates at 350°F for 15-20 minutes. Soaking husked corn for 20-30 minutes before grilling prevents the outer layers from burning while the kernels cook through.
Temperature verification guarantees consistency. Check your corn’s internal temperature around 20 minutes—aim for 150-170°F. This reading affirms proper doneness while preventing overcooking. You can also test with a fork or knife to ensure the kernels are soft and tender.
Ideal moisture retention depends on timing precision. Husked corn cooks faster in 10 minutes at high heat, requiring frequent rotation every couple minutes for optimal char development without drying out your kernels.
Buttering and Seasoning Techniques
How you butter and season your grilled corn’ll determine whether it’s merely good or absolutely exceptional. Master compound butter recipes by combining softened butter with fresh herbs, garlic powder, and sea salt for precision application. You’ll achieve complete flavor infusion by applying butter immediately after grilling while corn remains piping hot, allowing the melting to intensify sweetness and create seamless flavor integration.
For char grilled corn flavor enhancement, brush olive oil before grilling, then apply your prepared compound butter straight from the grill. Consider herbed chili butter blends incorporating parsley, thyme, and chili powder for complexity. Apply butter generously over hot corn, adjusting seasoning with salt to taste. For high-heat grilling applications, refined avocado oil offers a superior smoke point compared to standard olive oil, ensuring optimal heat tolerance without burning. To ensure your compound butter incorporates fully, stir in chopped cilantro and diced spring onions before application. A medley of fresh herbs like chives and basil will enhance the overall flavor profile. For bolder, crowd-pleasing options, try Mexican elote-style blends that combine cumin, chili powder, and smoked paprika with lime and cotija cheese. Like cordierite stones that withstand extreme temperatures on grills, high-quality butter compounds maintain their integrity under intense heat, much like carbon steel griddles that retain heat for consistent cooking performance. Pairing your buttered corn with heavy-duty stainless steel spatulas ensures proper handling and prevents tearing when transferring from grill to plate. This method-oriented approach guarantees your butter melts completely while the char provides contrasting depth, elevating your grilled corn from competent to exceptional.


