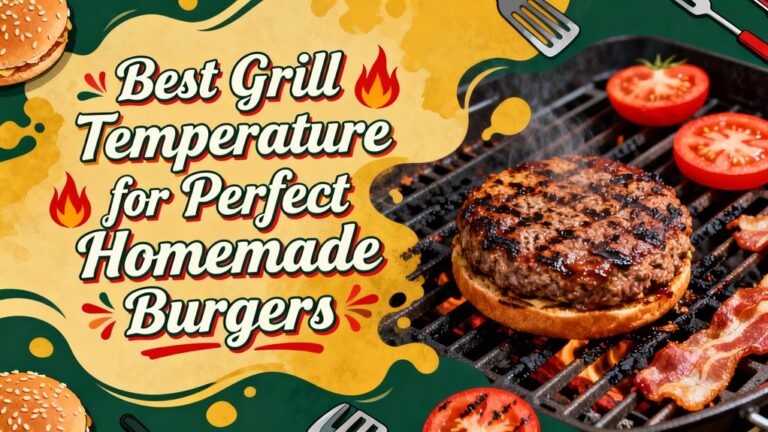
You’ll recreate Starbucks’ crispy grilled cheese by combining softened butter with Parmesan and garlic for a flavorful spread. Layer thinly sliced white cheddar and mozzarella between San Francisco-style sourdough slices, then cook over medium heat until golden brown—about 3-4 minutes per side. Cover the skillet briefly to accelerate melting. Press gently with a spatula for even distribution. Serve immediately with tomato soup or a crisp salad. Uncover the precise temperature settings and pro techniques that elevate this sandwich from good to restaurant-quality.
Gather Your Ingredients
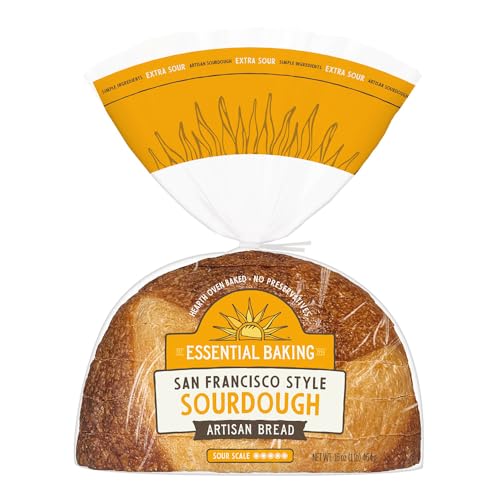
Before you’ve even heated up your skillet, you’ll want to source quality ingredients that’ll make your homemade grilled cheese rival Starbucks’ version. Start with San Francisco-style sourdough bread, which delivers that signature tanginess and crispy exterior. You’ll need 4 slices for two sandwiches.
For cheese, grab sliced white cheddar from your deli counter—the sharp bite creates authentic flavor contrast. Pair it with deli-style mozzarella for that coveted melty, stringy texture. You’ll use 2 ounces of each cheese per sandwich.
Don’t skip softened butter; you’ll need about 2 tablespoons total. If you’re looking for a healthier option, consider using extra virgin olive oil for a heart-healthy alternative with a nuttier taste. For high-heat grilling applications, refined avocado oil offers a neutral flavor and elevated smoke point that prevents burning. Regarding equipment selection and bread handling, invest in a quality skillet and guarantee your bread slices fit comfortably without crowding. If you’re grilling outdoors, protect your deck surface with a heat-resistant mat that extends beyond your grill’s footprint to catch any grease splatters. For the best results, prepare a butter and Parmesan mixture to spread on your bread, which adds extra flavor and helps achieve that signature crispy exterior. You can also experiment with alternative cheese options like orange cheddar or Monterey Jack if you prefer different flavor profiles. Some people enjoy pairing their grilled cheese with tomato soup for a classic comfort meal combination. If you’re planning to cook multiple sandwiches at once or want perfectly even browning, consider using an outdoor griddle with multiple burners for precise temperature control across a large cooking surface. This attention to ingredient quality and proper preparation sets the foundation for Starbucks-level results.


DELICIOUS SANDWICH BREAD: Perfect for crafting gourmet sandwiches, this sourdough bread features a soft texture and firm crust, making it ideal for busy lunches or family meals
Prepare the Garlic Butter Spread
With your ingredients gathered and your skillet ready to heat, you’ll now craft the garlic butter spread that gives Starbucks’ grilled cheese its distinctive flavor.
Start by combining your softened butter with finely grated Parmesan cheese in a small bowl. Add your garlic—either half a grated clove or a quarter teaspoon of garlic powder—then mix thoroughly with a spoon or rubber spatula until you achieve a consistent texture with no lumps remaining. The balanced garlic flavor should complement the cheese without overpowering it.
For intensified results, use two tablespoons of Parmesan and half a teaspoon of garlic powder instead. A pinch of salt enhances the mixture if you’re using unsalted butter. Once smooth and fully incorporated, you’re ready to spread this aromatic base generously onto your bread before grilling. This Parmesan and garlic butter spread is what transforms an ordinary grilled cheese into something extraordinary, so don’t skip this crucial step. The melting butter mixture should be applied to both the exterior and interior sides of your sourdough bread to ensure optimal browning and flavor distribution throughout the sandwich. Butter delivers a familiar caramelized nuttiness that adds depth to the flavor profile of your grilled cheese. Use a non-abrasive cloth or soft spatula to clean any butter residue from your work surface to avoid scratching stainless steel countertops. For tougher grease buildup on your cooking surfaces, Bar Keepers Friend powder mixed into a paste works exceptionally well on stainless steel without damaging the finish. If you’re using a cast iron grill pan, ensure it’s properly pre-seasoned for easy food release and optimal heat retention during cooking. After cooking, wipe down your stainless steel surfaces immediately to prevent water spots and streaks from forming as residual moisture dries.
Select and Prepare Your Cheeses
The cheese blend you’ll use makes or breaks your grilled cheese, so it’s worth getting this step right. Starbucks combines white cheddar and mozzarella for their signature sandwich—a pairing that balances sharp, savory notes with creamy mellow tones. You’ll need two ounces of each cheese per sandwich.
Visit your grocery store’s deli counter and request thinly sliced varieties rather than pre-packaged options. Slice consistency matters tremendously; uniform thickness guarantees even melting throughout your sandwich. If slicing feels challenging, grab shredded cheese instead—it’s equally effective.
The melt characteristics of this duo are exceptional. White cheddar provides salty sharpness while mozzarella delivers that satisfying stringy pull. Together, they create a luscious, gooey texture that contrasts beautifully with your crispy, buttered exterior. This combination delivers an impressive 21 grams of protein per sandwich, along with important nutrients like calcium and vitamin B12. The high moisture content of mozzarella ensures that both cheeses meld together evenly for maximum creaminess in every bite. For best results, cook about 3 minutes per side until the cheese is fully melted and the bread achieves a golden color. For the most authentic Starbucks experience, make sure your parmesan and butter mixture is properly spread on the bread’s exterior before grilling. You can also experiment with cheeses like muenster or Swiss for a slightly different flavor profile while maintaining that perfect melt. Just as stainless steel grills need regular cleaning to prevent corrosion, your grilled cheese benefits from attention to preparation details that ensure consistent results.

Sargento Reserve Series Aged White Cheddar Natural Cheese slices are fully aged to achieve its fullest flavor

One 8-ounce bag containing 10 slices of Sliced Sharp Cheddar

Exclusively selected and passionately sourced from farmers and producers around the world
Assemble Your Sandwich
Once you’ve gathered your ingredients, it’s time to build your sandwich with purpose. Start by laying one buttered slice of sourdough with the buttered side facing down on your clean work surface. On the unbuttered side, stack your cheese methodically: layer your white cheddar and mozzarella according to your preference, making certain of even coverage.
Top with your second sourdough slice, buttered side facing outward. This positioning guarantees that both exterior sides will crisp beautifully while the cheese melts against the unbuttered interior surfaces. The seasoned butter you prepared earlier should coat both outer surfaces evenly for optimal browning.
Now press your sandwich evenly with gentle but firm pressure. This contact ascertains the cheese adheres properly and toasts uniformly throughout. Using freshly sliced cheese instead of pre-shredded varieties will ensure superior melting and a more gourmet result. A digital meat thermometer can help you monitor the internal temperature if you want to ensure your sandwich reaches the perfect warmth without overcooking. If you’re using a panini press, look for one with a floating lid to ensure even pressing and consistent cooking throughout your grilled cheese. Like with cooking burgers, using a drip tray beneath your press can catch any excess butter or cheese that melts off during cooking. Aim for even thickness when assembling your sandwich to ensure consistent cooking throughout, just as you would when preparing burger patties. Similar to grilling techniques, cooking over medium heat helps prevent burning while ensuring your sandwich develops a beautiful golden crust. Your assembly is complete—you’re ready to cook this crispy masterpiece.

You'll get one 22 oz loaf of Nature's Own Perfectly Crafted Thick Sliced Sourdough

No hydrogenated fats or high fructose corn syrup allowed in any food
Heat Your Cooking Surface
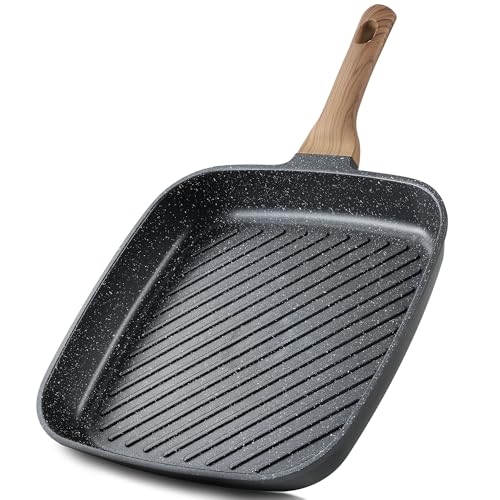
Your perfectly assembled sandwich now needs the right cooking surface to achieve that signature crispy exterior and melted interior. You’ll want to select from several excellent options: a Baking Steel griddle on your stovetop, an electric griddle, a cast-iron skillet, or a roomy sauté pan. Each conducts heat differently, so choose based on your preference.
For preheat duration, warm your Baking Steel on medium-high for 10-15 minutes until it reaches 300-325 degrees F. Test readiness by sprinkling butter—it should bubble assertively without browning. The Baking Steel creates an oven-like experience that delivers professional-grade results for your sandwich. If using an electric griddle, set your temperature settings to a consistent 275 degrees F. For stovetop cooking, begin at medium heat, then reduce to low after placing your sandwich down. This slow-and-low approach prevents burnt crusts and guarantees even melting. You can also place a pot lid over your sandwich to help the cheese melt faster and more evenly throughout the cooking process. For those seeking thicker smoother construction, a high-quality griddle can provide excellent heat distribution across the entire cooking surface. If you prefer porcelain-enameled cast-iron grates for superior heat retention, consider using a traditional grill for a smokier flavor profile. If you’re looking for an outdoor option with excellent low-temp control, models like the Solo Stove Steelfire or Weber Slate can provide consistent heat for grilled cheese perfection. For versatile indoor-outdoor cooking, consider a grill griddle combo that offers both flat-top and grate surfaces in one unit. For serious home cooks, the Steelmade PRO Series griddle transforms 30″ gas or electric stoves into restaurant-quality cooking surfaces with superior heat retention.

Durable Aluminum Construction: Crafted from premium aluminum alloy, this stovetop sandwich maker ensures fast and even heat distribution. The sturdy double-screw joints add stability, while the non-stick coating allows effortless food release every time.

Nonstick & Easy to Clean: The Switzerland ILAG nonstick coating is very effective in preventing anything from sticking to the surface, even with minimal oil, and also makes cleaning a breeze, just wipe it with a paper towel or rinse it with water. Free of PFOA and PFOS.
Nonstick & Easy to Clean: The Switzerland ILAG nonstick coating is very effective in preventing anything from sticking to the surface, even with minimal oil, and also makes cleaning a breeze, just wipe it with a paper towel or rinse it with water. Free of PFOA and PFOS.
Cook to Golden Perfection
As your butter sizzles and releases that irresistible aroma, you’re ready for the moment that transforms your sandwich into something spectacular. Place your sandwich in the skillet and cook for 1-2 minutes until the bread achieves that golden-brown perfection you’re after. Flip carefully once the first side’s golden, then repeat on the other side.
For ideal results, use the covering technique during the final minute. Simply place a cookie sheet or lid over your skillet to trap heat, speeding up cheese melting while maintaining that crispy exterior. Watch for cheese bubbling and bread reaching a uniform golden hue without dark spots. Cook on low to medium-low heat to ensure the cheese melts evenly without burning the bread. Monitoring your heat carefully helps avoid over-browning and prevents wasting your carefully selected cheese blend. Just as with grilling, internal temperature is a more reliable indicator than time alone for achieving perfect doneness.
Your browning time determines crispiness—aim for 4-5 minutes total on low heat. Remove immediately once golden to prevent over-browning and preserve that signature crunch Starbucks customers crave. Allow the sandwich to rest for a minute after cooking so the cheese redistributes and settles into that perfect gooey consistency. Resting after cooking helps retain moisture and allows the flavors to settle.

Durable Non-Stick Coating: Made with a durable non-stick coating that allows for easy food release and cleanup.
Universal Stovetop Compatibility—Carote grill pan can work flawlessly on gas, induction, electric, and ceramic cooktops. Seamlessly transitions from indoor kitchens to outdoor cooking setups.
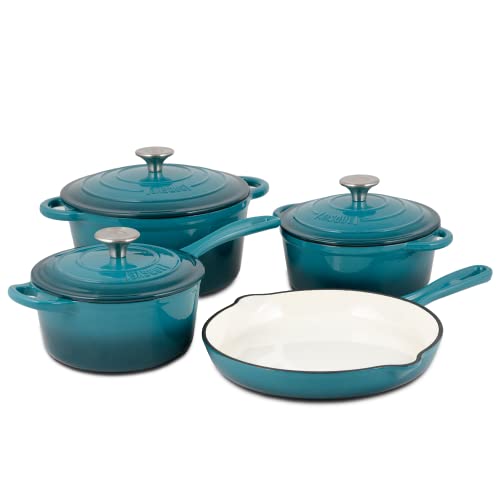
CAST IRON COOKWARE SET – Basque’s 7-piece cookware set is made of long-lasting cast iron which provides superior heat distribution and retention, so your food cooks evenly. The 7-piece set includes everything you need with a skillet, sauce pan and two dutch ovens!
Achieve the Ideal Melt
While that golden exterior creates the visual appeal, the real magic happens when the cheese inside reaches that perfect gooey consistency. You’ll achieve ideal cheese melt by using medium-low heat and covering your skillet with a lid for 1-2 minutes. This trapping technique accelerates melting while preventing the bread from over-browning.
Layer 2 ounces each of mozzarella and white cheddar on your non-buttered bread side for superior results. Shredded cheese melts faster than pre-sliced varieties, giving you that coveted cheese pool. The two-cheese blend creates a sophisticated flavor profile that distinguishes your homemade sandwich from ordinary grilled cheese. Gently press with your spatula during cooking for even melt distribution and consistent browning. Flip once the bottom turns golden, watching carefully as the cheese starts oozing. Remove the lid when melting begins to avoid sogginess. Just as ice cubes prevent drying in grilled burgers by releasing moisture during cooking, the covered skillet method locks in steam to maintain your sandwich’s interior moisture while achieving that crispy exterior. If you prefer outdoor cooking, you can also achieve excellent results by wrapping in aluminum foil and using indirect heat on your grill, though the stovetop method provides better control for achieving that signature crispy texture. For an alternative indoor method, a grill pan with raised ridges can create attractive grill marks while allowing excess butter to drain away from your sandwich. For best results when reheating leftover grilled cheese, allow the sandwich to reach room temperature before placing it back on the stovetop to restore the crispy texture and melted cheese quality. After cooking, let your grilled cheese rest for 30-60 seconds to allow the melted cheese to redistribute evenly throughout the sandwich. Your reward: that perfectly melted, creamy center complementing the crispy exterior.
Serving and Enjoying Your Creation
Now that you’ve crafted your crispy grilled cheese, it’s time to elevate the experience beyond a simple sandwich. Customize presentation by serving it on a real plate and cutting diagonally for café-style appeal. Enjoy it immediately post-grill to maximize that crispy sourdough texture contrasting with melted cheddar and gouda.
Curate complementary sides that enhance your meal. Pair your sandwich with tomato soup for dunking, or add a crisp green salad with lemon vinaigrette to balance the richness. Consider roasted vegetables or a fruit salad for savory notes. This delightful combination of melted cheese and crispy, buttery bread transforms an ordinary meal into a comfort food staple. For a truly elevated pairing, enjoy your grilled cheese with a sweet and indulgent Frappuccino to combine the contrast of creamy and crunchy textures.
Beverage selection matters too. Sparkling water or an iced citrus drink cuts through the buttery crust beautifully. For indulgence, try a Chai tea latte or Matcha latte alongside your creation, transforming a quick snack into a satisfying, well-rounded meal. For those craving extra texture, consider adding crunchy tortilla strips on the side for a unique twist inspired by popular restaurant menu items. For a lighter alternative, finish your sandwich with fresh lemon juice to add a bright, citrusy note that cuts through the richness. If you’re looking to expand your cooking capabilities, a 2-in-1 electric hot pot with grill can help you prepare multiple components of your meal simultaneously with separate temperature controls. To achieve perfectly grilled sandwiches every time, invest in a quality panini press like the Cuisinart GR-4N Griddler, which offers versatile cooking options and easy cleanup with dishwasher-safe plates. For added versatility in your kitchen, consider using a hot grill pan that can help you achieve professional restaurant-quality grill marks and searing on various foods.