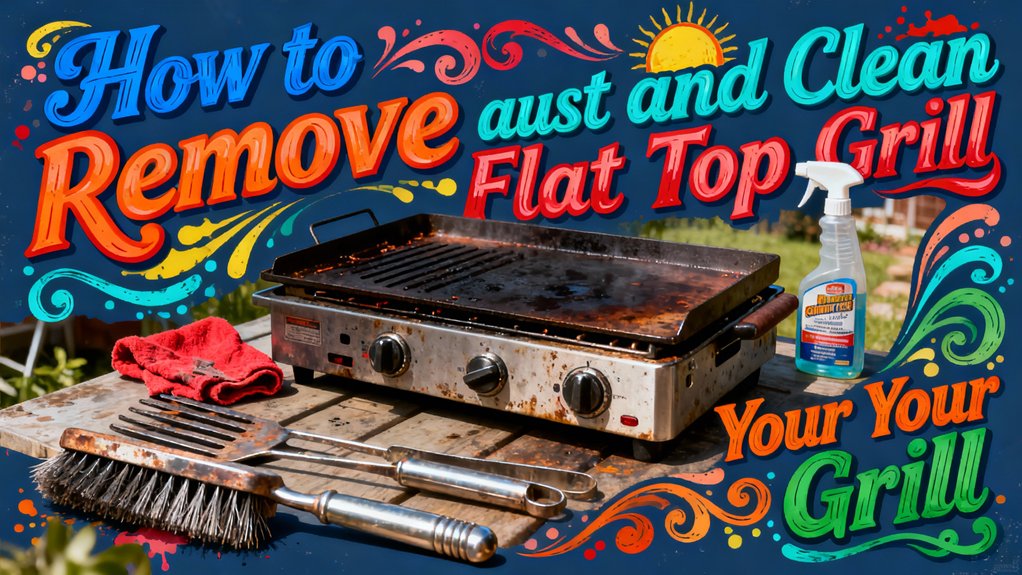
You’ll remove rust and clean your flat top grill by heating it to 200-250°F, then scraping debris toward the grease chute with a metal spatula. Apply a baking soda and vinegar paste to stubborn spots, scrub with wire brushes or steel wool, and rinse thoroughly. Once cooled, apply high-temperature cooking oil to season the surface and prevent future rust. For deeper restoration techniques and maintenance strategies, uncover the complete step-by-step process below.
Gather Your Cleaning Supplies and Tools
Before you tackle rust and buildup on your flat top grill, you’ll need to assemble the right tools and supplies. Check your cleaning schedule to determine which implements you’ll need for your specific situation.
Choose an appropriate brush or scraper based on the debris type. Heavy-duty grill brushes with long handles work well for stubborn grime on hot surfaces, while griddle scrapers excel at removing large stuck-on pieces. For tougher jobs, gather pumice bricks and grill bricks. A grill screen treated with aluminum oxide is also excellent for removing burnt food from the cooking surface. Consider using a heat-resistant sponge head designed to scrub away residue effectively without the risk of metal bristles breaking off.
Stock scouring pads and microfiber cloths for finishing touches. A comprehensive griddle cleaning tools kit contains all these essential items in one convenient package. Top griddle scrapers like the OXO Stainless Steel Multi-Purpose Scraper offer exceptional durability and ease of use for maintaining your flat top. Include heat-resistant gloves for hand protection during operation. For commercial cleaning solutions, Carbona’s 2-in-1 Oven Rack and Grill Cleaner provides a mess-free option that cuts through grime quickly on cold grates. Prepare spray bottles filled with warm water or commercial griddle cleaner—warm water functions as an effective degreaser in most situations. For heavy buildup, consider creating a salt and oil paste that gently lifts stubborn grime without damaging the surface. Keep paper towels nearby for cleanup and surface preparation before cooking begins. Pumice-based cleaning bricks require only water and light pressure, making them an efficient option for removing grease and caked-on food residue.
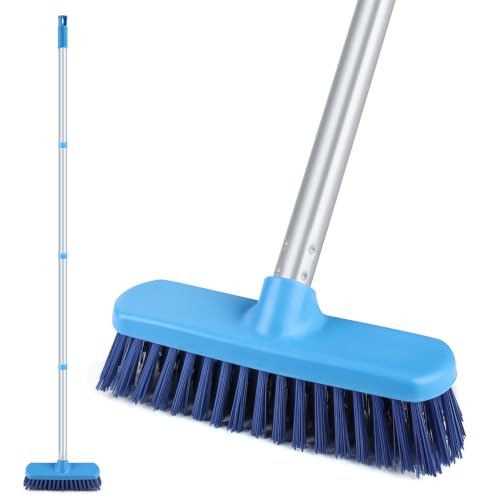
Scrub Brush with Long Handle: The shower cleaning brush consist of stainless steel pole and PP material brush head. The shower srubber brush length with 4 metal iron poles that can be adjusted from 16 inches to 50 inches as you want. Don't need bend or squat down yourself while cleaning

SOLVE ALL CLEANING WORKS WITH THE WHOLE SET: The griddle cleaning kit includes 5pcs scouring pads and 1pc cleaning handle, comes in an exquisite package. This griddle cleaning kit not only for griddle cleaning but also for your kitchen
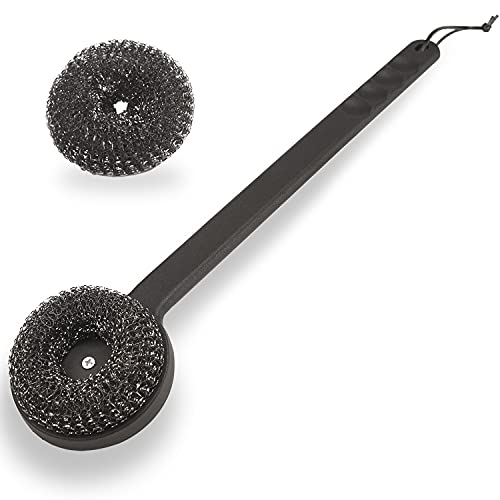
🔥 Bristle-free design, the construction of this grill brush is like blobs of scouring pads with a long plastic handle, the mesh pads coils tightly and integrated, no worries about finding bristles in your food, a much safer solution for grill grate cleaning.
Heat and Cool Your Grill for Optimal Cleaning
Now that you’ve assembled your supplies, controlling your grill’s temperature becomes your next priority. Properly timing grill temperature guarantees effective rust and grease removal without damaging your equipment.
Heat your grill to 200-250°F for general cleaning, or 300°F for heavy burnt-on deposits. This warmth softens polymerized grease and allows cleaning solutions to activate quickly, reducing scrubbing effort. The plastic-like coating formed by superheated oils requires adequate heat to break down effectively.
Safely regulating water application prevents thermal shock. Pour water slowly onto the heated surface to create steam that lifts stubborn material. Use warm or room-temperature water rather than cold, which risks warping the metal. Neglecting proper temperature control can also pose fire hazards from unexpected grease ignition. For natural degreasing solutions, consider making a baking soda and vinegar paste to apply before heating and water application. For stubborn rust that persists after heating and water application, consider using gentle abrasive tools like soft brushes or scouring pads to avoid further damage. After cleaning, thoroughly rinsing and air-drying all parts prevents rust formation and extends your grill’s lifespan. For long-term protection beyond your cleaning routine, high-temperature spray paints designed for metal surfaces offer durability against corrosion when applied to exterior grill components. For additional protection, consider applying high-temperature cooking oils after the grill has cooled to create a seasoned surface that resists future rust.
After cleaning, let your grill cool completely before closing the lid or removing components. This prevents warping and ensures even heat distribution for your next cooking session.
Scrape Away Debris and Loose Rust
With your grill’s surface still warm from heating, you’re ready to scrape away debris and loose rust. Use a metal spatula or scraper, pushing residue from back to front toward the grease chute. Apply consistent pressure for 10-15 seconds on stubborn spots, working in one direction to prevent spreading grime around.
Focus on corners and edges where buildup accumulates. A stiff wire brush or steel wool pad effectively removes caked-on rust and loose particles. For initial debris removal, use circular motions with rags for even coverage. Consider using aluminum foil as a safer alternative to wire brushes to avoid the risks of metal bristle ingestion. However, be aware that aluminum foil can restrict airflow and heat distribution, resulting in uneven cooking and hotspots. Like quality grill mats for durability, proper surface preparation protects your grill’s longevity and cooking performance. Ensure you wear gloves and safety glasses to protect your hands and eyes during this abrasive cleaning process.
Avoid carving into surface to prevent damage and preserve your grill’s integrity. Work methodically in sections, maintaining control throughout the process. Keep a fire extinguisher nearby during any grill maintenance to ensure safety in case of accidental ignition. Choose mats with non-slip textures to prevent shifting during the cleaning process. Once you’ve removed loose rust and debris, wipe immediately with paper towels or clean rags. If rust remains after scraping, use 220-grit sandpaper to remove any remaining rust that the pad could not eliminate.

[ You Will Receied ] 6pcs steel wool cleaning pads for replacement, which are easy to scrubbing stains and grease on kitchen appliances, as well as rust on various pot bottoms, making them shiny like new. In addition, you can use it combination with stainless steel cleaner to achieve better cleaning and improve cleaning efficiency

THREE DISH SCRUBBERS: This pack of Scotch-Brite Stainless Steel Scrubbers includes 3 scrubbers

CUTS GREASE: Effectively removes tough grease and grime from cookware and surfaces
Apply Chemical Treatments and Scrub Thoroughly
Once you’ve cleared away the loose rust and debris, chemical treatments‘ll take your cleaning deeper by breaking down oxidation and stubborn buildup. Create an acidic solution application using potato and salt combined with oil—this generates a chemical reaction that removes top rust layers effectively. Alternatively, vinegar or lemon juice serve as natural degreasing solutions for flat top grills, while soda water offers another viable option. For even better results, consider pairing vinegar with bicarbonate of soda, which has proven effective in grill cleaning tests.
Apply your chosen chemical treatment across the entire surface, allowing adequate contact time for maximum chemical treatment effectiveness. Scrub thoroughly with steel wool or medium-grit sandpaper to spread the solution evenly and dislodge remaining rust particles. Pay special attention to corners and curved sections where rust concentrates. Since rust only affects the surface of the iron and does not penetrate the entire metal, these treatments are highly effective at restoring your griddle’s cooking surface. Always avoid abrasive tools that can scratch the cooking surface when scrubbing delicate areas. For optimal results, empty the grease trap] before beginning your chemical treatment to prevent residue buildup. For a simple and chemical-free alternative, try the onion rubbing method to remove light carbonization and charred food from your grill surface.
After treatment, rinse completely and follow up with sanding using 220-grit sandpaper to guarantee surface evenness. This preparation establishes the foundation for your protective oil coating application, which creates a nonstick finish when properly layered and heated.

Fast-Acting Grease & Carbon Remover – This flat top grill cleaner quickly dissolves stubborn grease, carbon buildup, and burnt-on food residue. It typically works in minutes, saving you time and reducing scrubbing effort on hot cooking surfaces

EVAPO-RUST RUST REMOVER: Evapo-Rust effortlessly removes rust from automotive parts, hardware, tools, cookware, and antiques without any scrubbing or sanding.

Extend The Life Of Your Griddle: By using AWEASROY's griddle cleaning kit before and after cooking, it prevents your griddle from flaking and getting damaged. Top this with proper re-seasoning for a long lasting use
Season and Maintain Your Flat Top Grill
Seasoning your flat top grill creates a durable non-stick surface that’ll protect against rust and enhance cooking performance. Start by preheating your griddle to 300°F–350°F for 30 minutes, then cool it slightly. Use proper oil application techniques by dispensing 2–3 tablespoons of oil in a zigzag pattern across the entire surface. Spread the oil evenly with a clean cloth, wiping away excess to create a thin layer. Heat the griddle to 350°F until the oil smokes, indicating polymerization. Repeat this cycle four times for initial seasoning.
Establish seasoning frequency and timing by re-seasoning after each cooking session. Allow your griddle a minimum 30-minute cooldown before cooking or storage. This extended cooling period lets polymerization set, creating a longer-lasting protective coating. Cast iron griddles are favored for their superior heat retention and durability, making proper seasoning essential to prevent rust and maintain their performance. Pre-seasoned cast iron options like the Lodge Pre-Seasoned Grill Pan build natural non-stick seasoning over time while resisting metal utensils. Gas grills with cast iron grates deliver exceptional searing ability alongside the durability you need for long-term outdoor cooking. For best results, choose high-smoke-point oils like refined avocado, peanut, or canola that can withstand grilling temperatures without burning. Keeping oil layers thin prevents uneven seasoning and ensures a smooth, consistent non-stick surface. Seasoning is a necessary maintenance step that ensures your griddle continues to perform optimally over time. Use flaxseed oil or cast iron conditioner as your preferred seasoning oil for best results.